June 12, 2014


Having the good fortune of being born in Southern California is one of the many things I am continuously thankful for. While I may have just recently been interested in eating healthier, I have always had a deep love of food, and Southern California has an ever evolving cornucopia of interesting and unique food to offer. All throughout the Southland, you can find almost any type of ethnic cuisine you can think of, including the most delicious and authentic Mexican food, pockets of towns offering traditional Indian, Ethiopian and Chinese food, and just 10 minutes down the freeway, we have Little Saigon, where you have prime pickings for amazing, affordable Vietnamese food. My love of the traditional Vietnamese noodle soup pho, pronounced duh, is something that’s only developed in the last few years, but boy is it intense, and Art and I have passed on that love to all 3 of our kids. I craved pho the most during my last pregnancy, and the last few weeks, while the kids were in school, I would often find my car driving to my then favorite place to get a delicious bowl of noodle soup, where I would sit alone, enjoying my noodle soup and a favorite book. I knew that my hours of freedom would soon be gone once Hayden came along, so I sat and sipped, savoring every bite and slurp.
Another wonderful bit of good fortune I’ve been graced with, is having many friends who love food as much as I, and many who can cook well too. From decadent desserts to the most amazing corned beef, I have several friends I lean on for cooking advice and recipe exchanges, including my friend Mary, who has proven herself quite adapt at cooking some amazing Vietnamese fare. Mary has grown up learning to cook traditional Vietnamese food firsthand from her mother. When I found out she had recently got the hang of cooking chicken pho from scratch, I asked (begged) her to teach me how. Several weeks back I ventured to her house, and got quite an amazing cooking lesson from someone who is as precise as she is intuitive in the kitchen. She respects recipes, but also has the confidence and knowledge to know when to stray off a bit or even wing it; my favorite kind of home cook.
While it’s easy to mark pho as just another Asian noodle dish, it really is more than that, and it’s uniqueness is in the rich deeply flavored broth which is cooked for several hours. While beef pho is probably most popular, and is made by simmering marrow rich beef bones for quite a while, at least 3-4 hours, the soup I learned to make from Mary is a little less intimidating to tackle, especially for a first timer like myself. The broth is made of chicken bones, and the simmering time isn’t nearly as long as with beef pho, so it makes for a good first entry into making this flavorful dish. Eventually though I would like to set a day aside to hang out in Mary’s kitchen and learn to make beef pho. For now though, this does just fine, especially when I can pick up a bowl of beef pho almost any time I’d like.
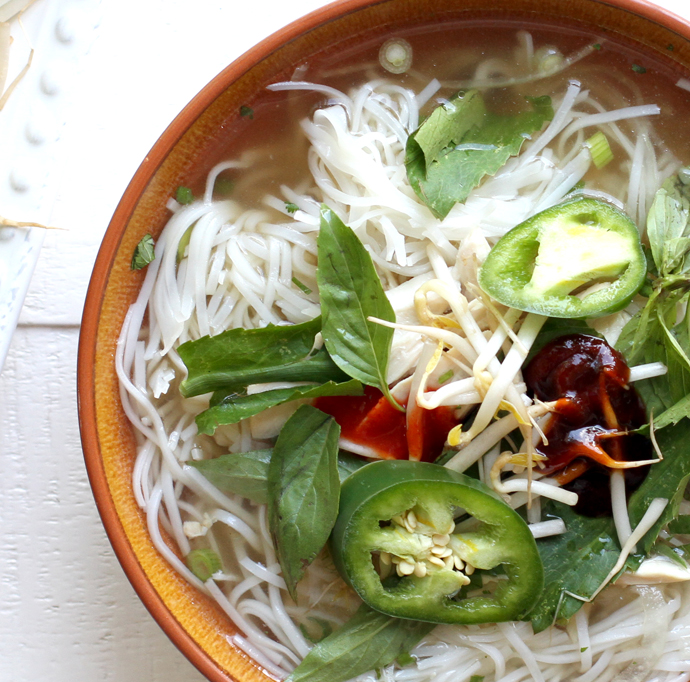
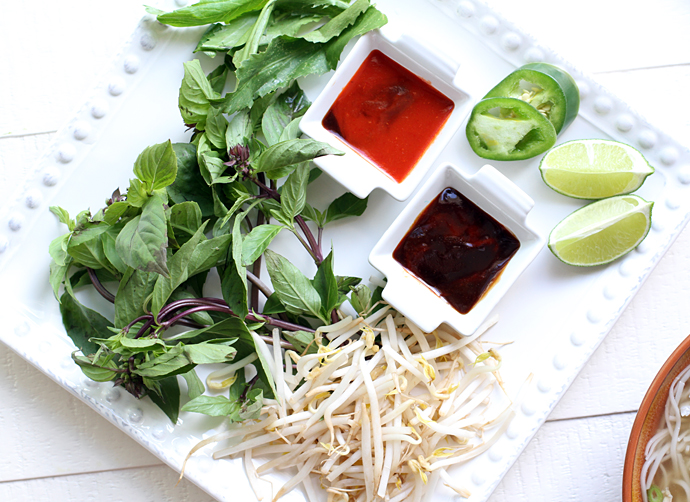
 The ingredients to make this dish can be found at most Asian markets for a very affordable price, or if you don’t have an Asian market in your town, a specialty foods or health foods store should have everything you need, perhaps at a higher price though. The toppings can vary in terms of how much variety you have, but in keeping in line with traditional toppings, you should definitely aim to have some bean sprouts, basil, and limes, and if you’d like to add a more intense flavor, you’ll need the hoison and hot sauce too.
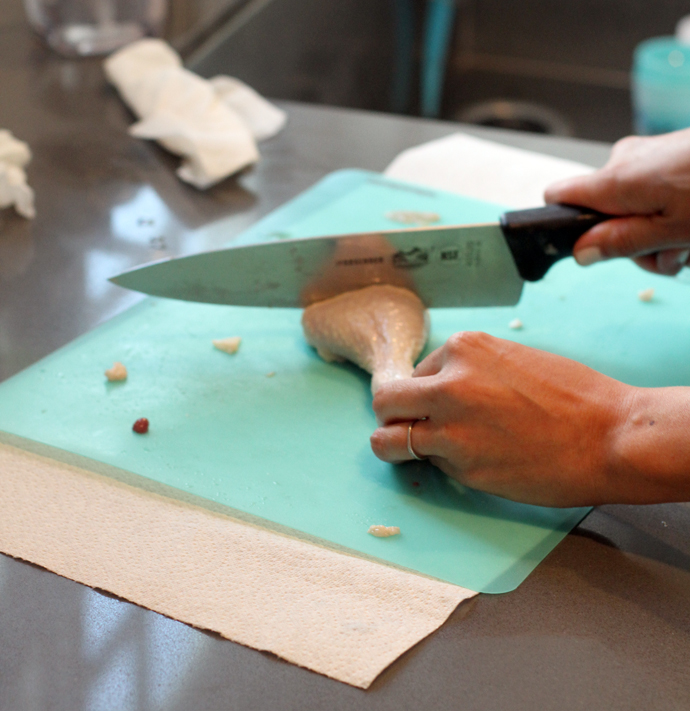
 A few helpful techniques I learned from Mary was to really hack into the bones of the chicken with a knife, allowing the rich marrow to transfer into the broth. And soaking my noodles in warm water just a bit, before adding them into my pho. In writing this recipe, which she was so nice to share with us all, she has been quite thorough, but please let us know if you have any questions.
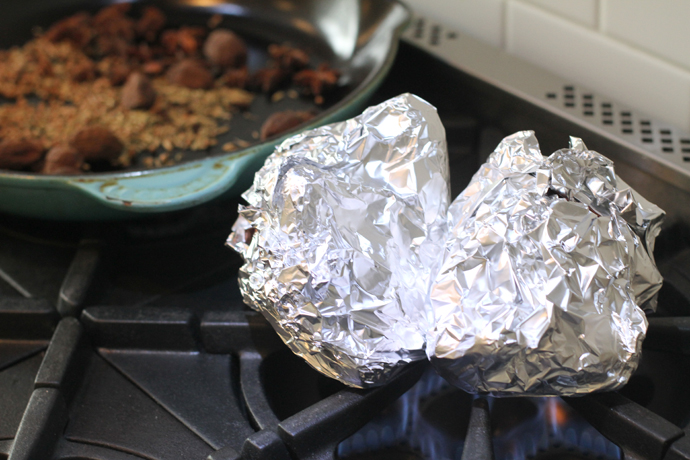
When we made or batch, she was a bit conservative on the fish sauce, not sure how intense I would like my flavor. But I would say you could easily add another 1-2 tbsp to your broth, only to its benefit. And when heating the roasting the onions, her stove top foil wrapped method was nothing short of genius, although it does make a bit of a mess during peeling, so I suggest doing it over a bowl or your sink.

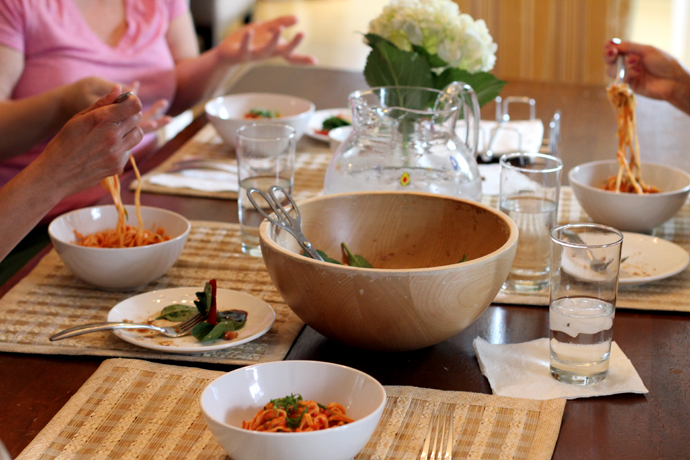
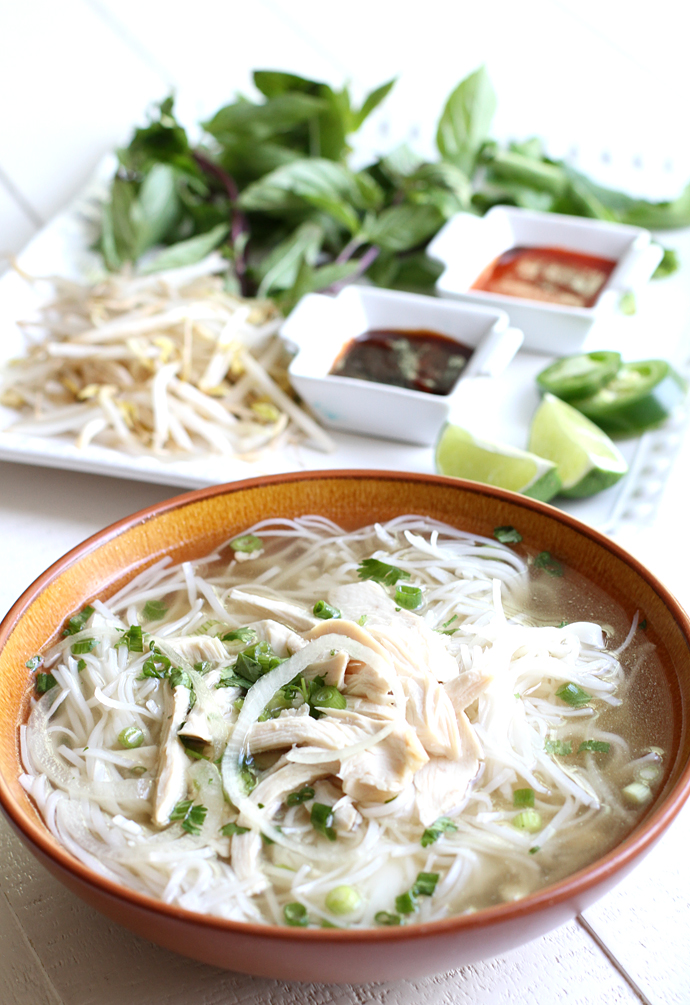
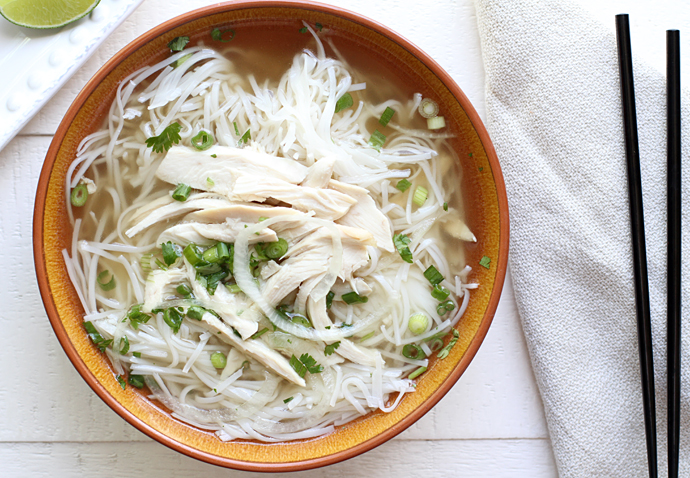
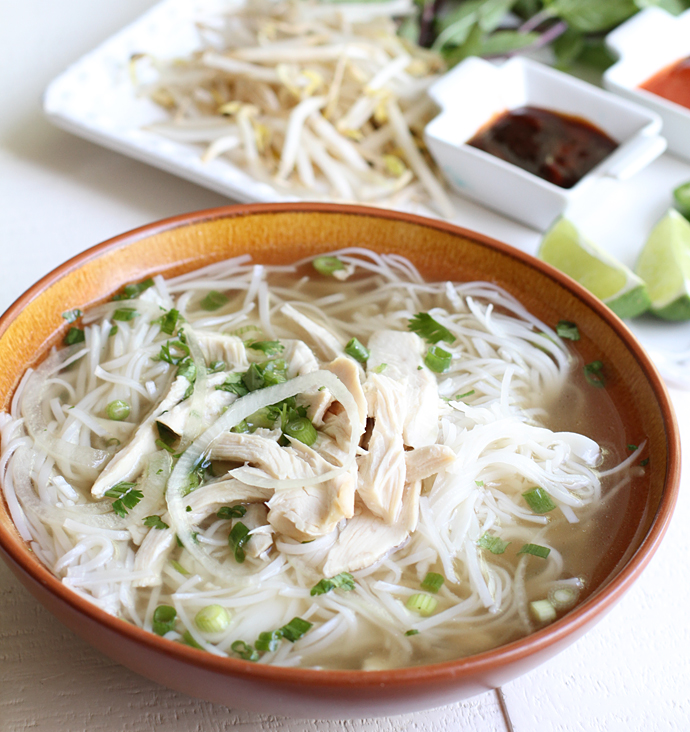
 When you’re going to serve your pho, Mary suggests starting with placing your noodles in the bowl first, then chicken, before adding your broth, and finally your toppings. This allows the broth to gently separate the noodles if they’ve become stuck together, rather than inserting the noodles in the broth and hoping for the best. At restaurants they of course always do it the other way around, bringing you your broth and noodles separate, leaving you to dump noodles into broth, but I assume at a restaurant there’s more cooks in the kitchen, and things turn around a lot quicker than when at home trying to feed multiple mouths with just your single hands. At any rate, I’m sure there’s no wrong way to eat pho, so just go with your gut.
I do find it helpful though to have a big spoon and a pair of chopsticks or fork on hand. To get both noodles and broth in one mouthful, I usually wind my noodles in my spoon, dip the spoon in to get some broth, and then enjoy. So let’s get on with the recipe, shall we? Again, let us know if you have any questions, and thanks again Mary for the amazing lesson and for allowing me to share this with you all!
- (Broth Ingredients)
- 1 yellow onion, unpeeled
- 1 three inch piece of ginger, unpeeled
- 2-3 Tbsp oil
- 1 whole free-range chicken, (about 4 pounds), breast removed and cut into 4 pieces, remaining chicken cut into 2-inch pieces
- 3-4 quarts water
- 1 inch chunk of rock sugar
- 2 tsp salt
- 1 Tbsp fish sauce
- 10-12 cloves
- 1 tbsp coriander seeds
- 1 tbsp fennel seeds
- 2-3 cardamom pods
- 4 star anise pods
- (Noodles)
- 1 pkg rice noodles (banh pho)
- 1 tsp oil
- pinch of salt
- (Optional Garnishes)
- Bean sprouts
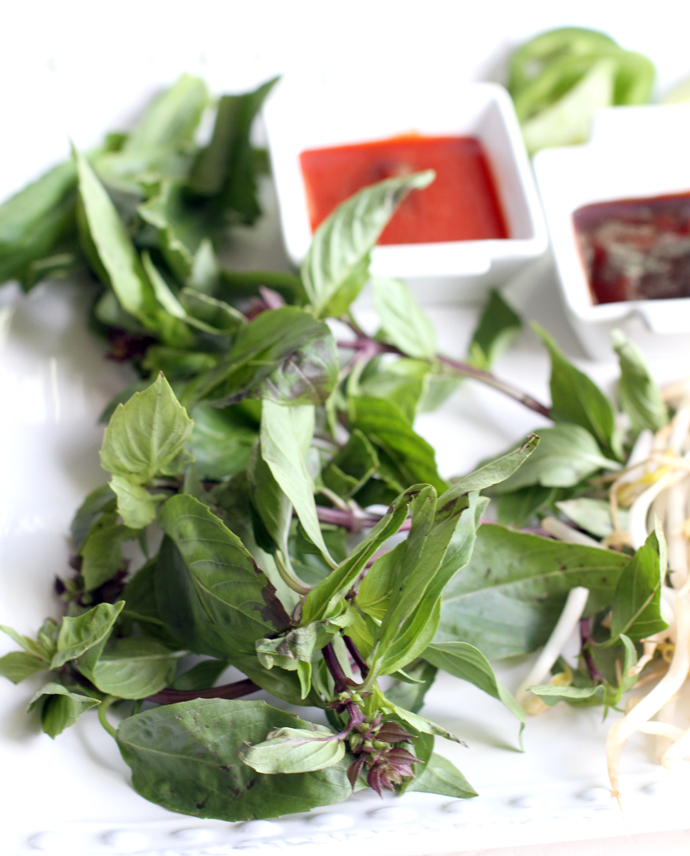
- Thai basil
- Sawtooth herb
- Scallions, green part only, thinly sliced
- Cilantro, chopped
- Onions, thinly sliced
- Hoisin sauce
- Sriracha chili sauce
- Limes, quartered
- To make the broth - Wrap the onion and ginger in a large piece of foil. Place directly over open flame on a gas stove and cook for 15 minutes until soft and charred. Turn over at half-way mark. Remove from flame. Once cool, peel both the onion and ginger removing any charred layers. With the onion, trim off the root end then cut into it halfway, as if cutting it in half but still leaving it in tact. Bruise the ginger with the broad side of a cleaver or chef’s knife. Set both aside.
- While cooking the onion and ginger (step 1), toast all the spices (last 5 ingredient items) in a dry pan for 2-3 minutes to release their fragrance and heighten their aroma in the broth. Allow to cool, then wrap in double layer of cheesecloth and tie securely.
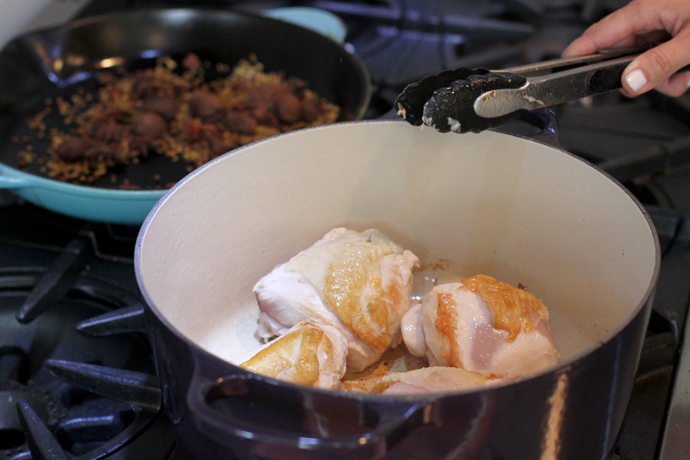
- Heat oil in large soup kettle, stock pot or dutch oven. When oil shimmers and just begins to smoke, add the chicken breast pieces; brown on both sides,
- for about 5 minutes total. Remove and set aside.
- Add the remaining chicken pieces to the pot; sauté until no longer pink, 4 to 5 minutes. (Do this in batches if it does not all fit into the pot without overcrowding). Reduce heat to low, cover, and simmer until chicken releases its juices, about 20 minutes.
- Increase heat to high; add 3-4 quarts water along with the breast pieces, rock sugar salt, fish sauce, and cheesecloth pouch of spices. Return to simmer, then cover and barely simmer until chicken breasts are cooked and broth is rich and flavorful, about 20 minutes.
- Remove all chicken pieces from broth; set aside. When cool enough to handle, remove skin, then remove meat from
- bones and shred into bite-size pieces; discard skin and bones.
- Using a fine mesh sieve, strain broth; discard onion, ginger, and spice pouch. Add more salt and fish sauce to the broth according to your taste.
- To prepare your noodles - Place the dry noodles in a large bowl and cover it with hot water. Soak for about 10 minutes until the noodles have softened and are pliable. Drain water and rinse noodles until water runs clear. Drain and set aside.
- Fill a large pot with water and heat. Just before it comes to a boil, add oil and salt, then noodles. Turn off heat and stir noodles for 30-60 seconds. Pour noodles into colander and drain. Shake out excess water and toss with chopsticks to prevent clumping.
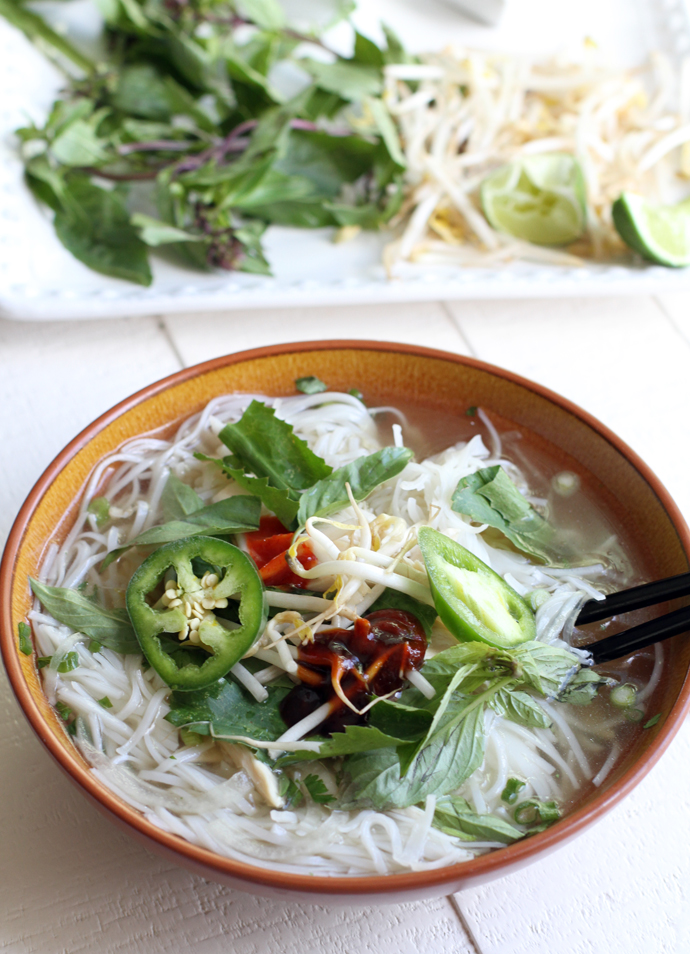
- To assemble your bowl of pho, start with noodles, add the meat on top, then ladle in boiling broth. Condiments are usually Sriracha, chili sauce, and hoisin sauce. Then squeeze a quarter section of lime, add bean sprouts, basil, sawtooth herb, onion slices, scallions, and cilantro.