This post is part of a social shopper marketing insight campaign with Pollinate Media Group™ and Soma, but all my opinions are my own. #pmedia #givesoma http://cmp.ly/3/8vNxcO
 When I first began hosting family and friends at our home for holiday gatherings, I continuously went with the approach of more is more when I set the table. I love the look of a well designed and very full table, complete with full service place settings, elaborate centerpieces, candles galore, and of course more glasses than you know what to do with. Those types of tables are always just so darn pretty, you know it’s true. But are they practical friends? No, no not really. I do still love them though, but have slowly, then quite quickly with the birth of my third child, curtailed my more is more approach to table settings, and have happily settled on a less is more point of view.
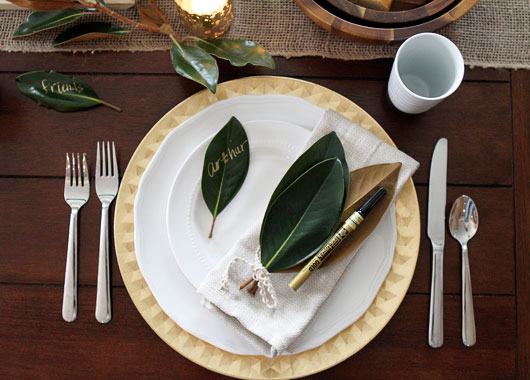
Less is less work, less chance of mess, less clean-up, less chance of breakage. So now when setting the table for family and friends, I include only the necessities, and leave out the rest.
 The necessities include place settings and utensils of course. Cloth napkins are still my favorite when hosting a nice dinner, and of course candlelight. I’ve eliminated tapers because someone in my family inevitably burns themselves when they’re reaching for the rolls, so now I stick with just a few votives, safely tucked away.

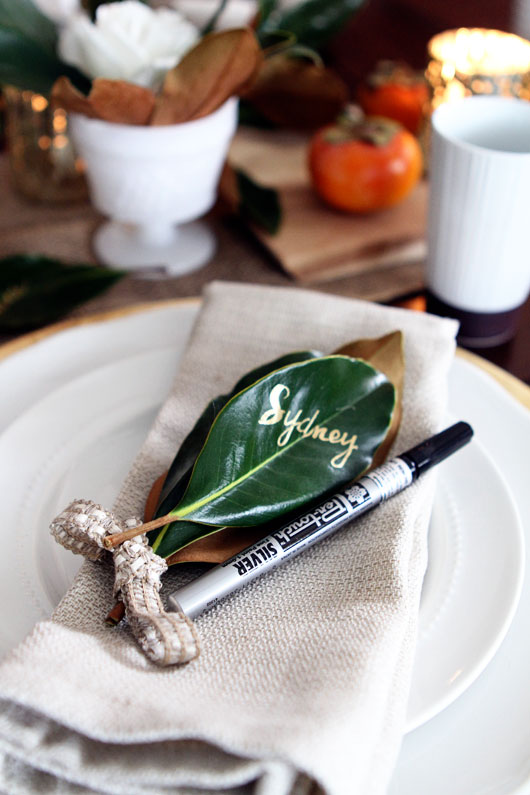
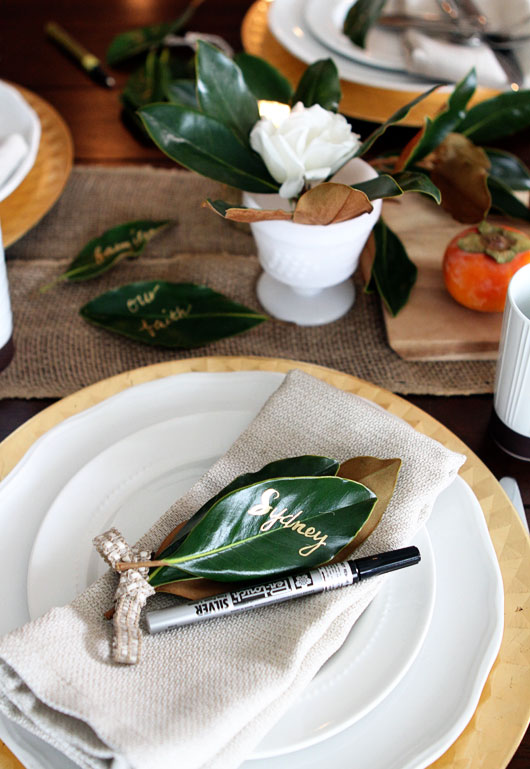
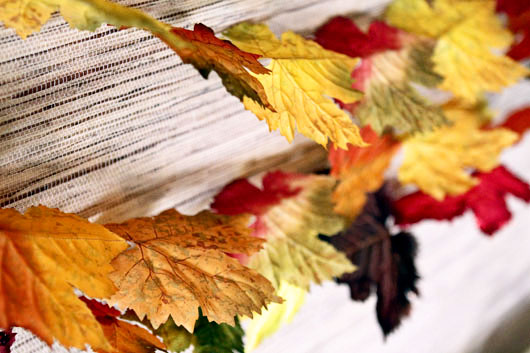
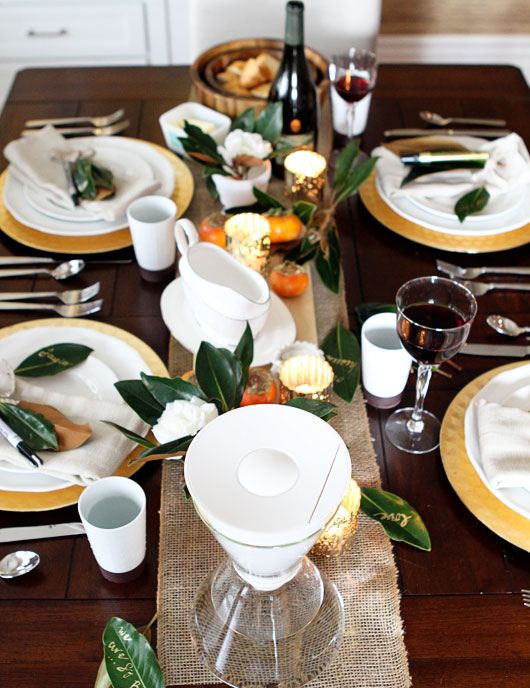
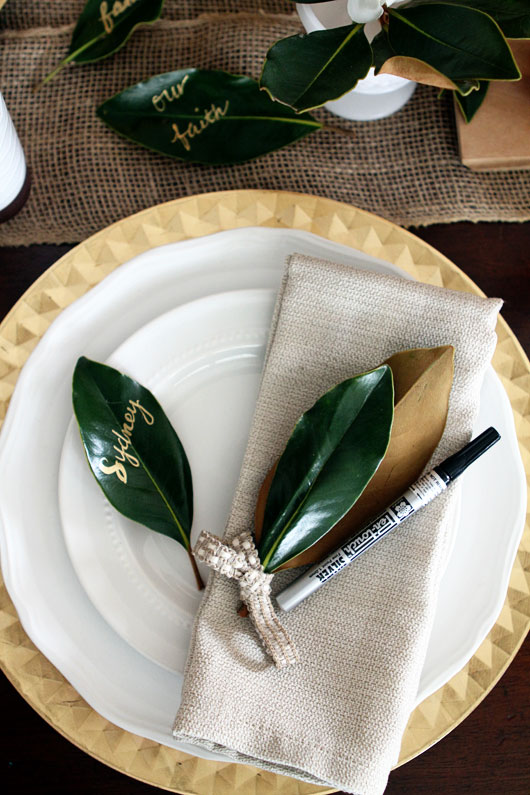
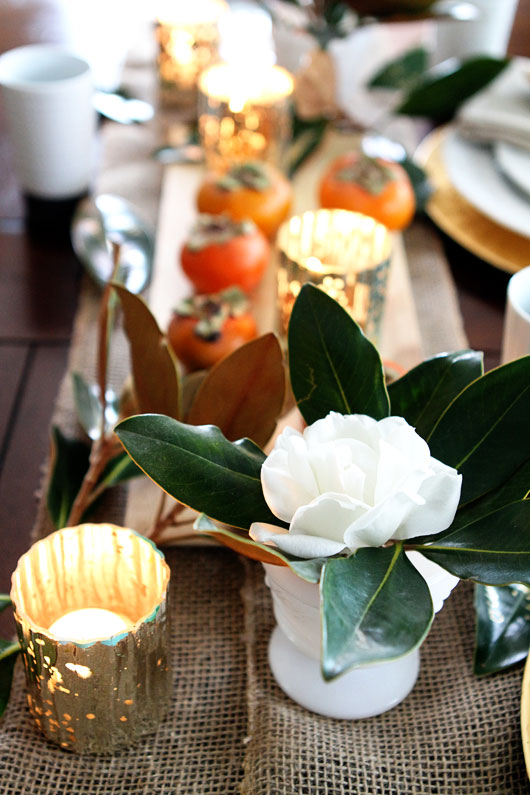 For centerpieces, I always love a gorgeous flower arrangement from my favorite florist, but when time, money and good planning are just out of reach, as is so often the case, I defer to the great outdoors, and start clipping greenery from my own backyard. Gorgeous seasonal fruits and vegetables are wonderful additions for color and texture, and serve some purpose beyond just looking pretty. With this place setting I used persimmons of course, set along side magnolia leaves from my little gem bushes, but artichokes and asparagus are fantastic options, as are apples, clementines and of course miniature pumpkins. You may remember the magnolia place cards from my post last week. I love that they require no extra cutting of paper and are literally quite green.
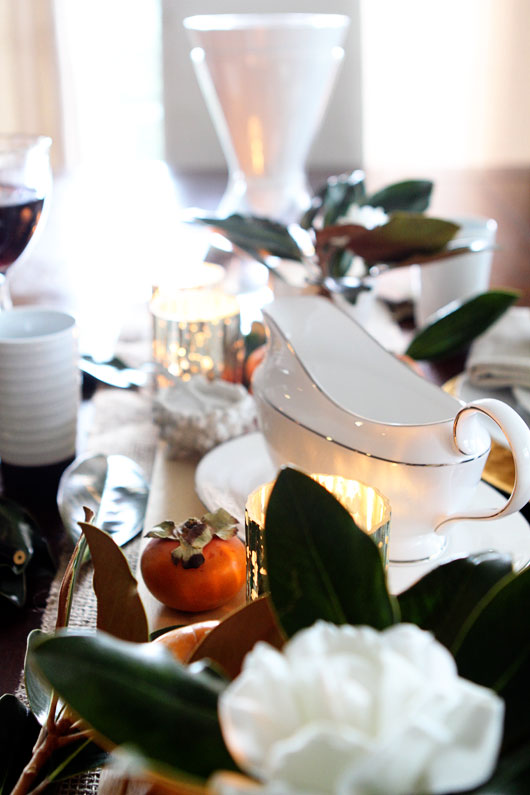
 In terms of which food items to bring to the table? Well that’s all a matter of personal preference and the specific habits of your family members, but for my family, less food on the table means less mess overall. Gravy is very much a necessity, because every single person I know wants to pretend it’s not Thanksgiving, so they skimp on their first round of gravy in an effort to be health conscious or something, and then get to the table and realize how sad and lonely their stuffing or turkey is without a douse of gravy. So gravy, albeit quite messy, must be kept on the table to prevent any crying fits. I keep my gravy in a boat with a saucer to catch dribbles, but a nice wooden platter or cheese board works wonderfully as a second, or third, line of defense.
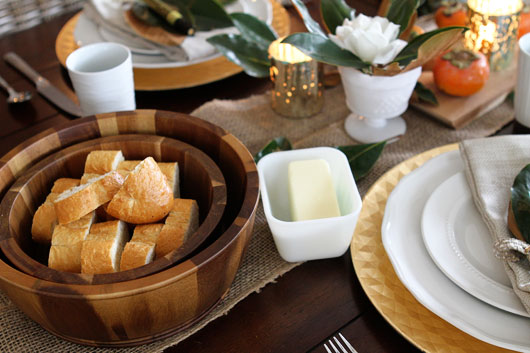
 Of course salt and pepper are necessary in my family, the salt fiends that we are. You can always tell where a Fogarty was eating by the clear outline of salt around their place setting. Bread and butter are important as well, and should be crusty and warm, or soft and fluffy, whichever you prefer. Leave your butter out for at least a couple of hours before the feast, giving it a chance to soften.
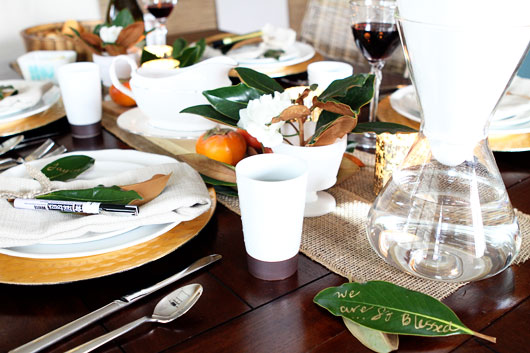
 Now to quench everyone’s inevitable thirst throughout the dinner. Water is the most important thing to keep at your table, even beyond butter and bread. It keeps you hydrated and helps to wash down a dry turkey, and keeps you from feeling bloated by flushing out your body. If you’re drinking wine with dinner, water is especially important in between glasses to prevent any overindulgence. Speaking of wine, consider your company and add it to the table if appropriate, but of course keep out of reach from tiny hands set out to cause destruction.
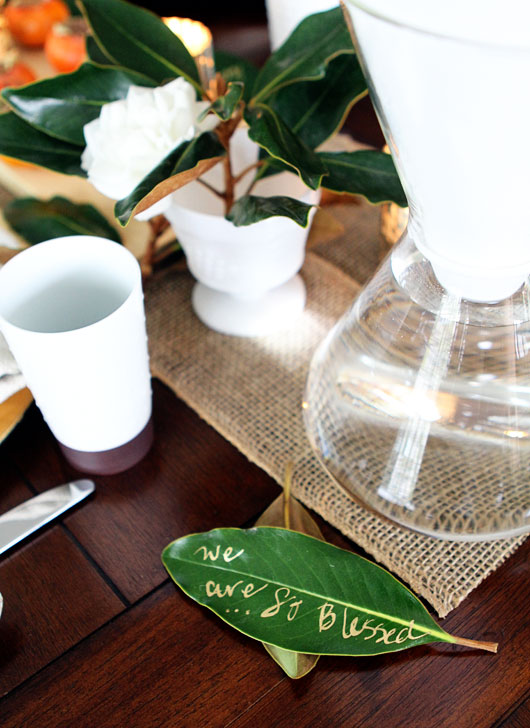
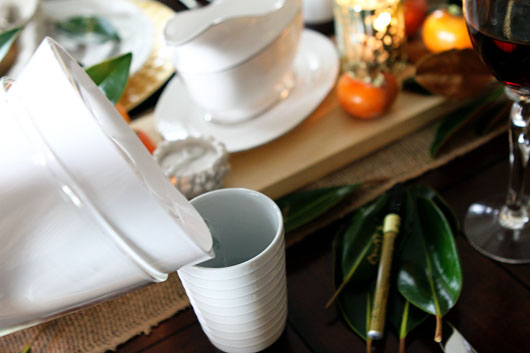 I truly love with my new Soma water pitcher that you see on the table. It provides filtered water, even from the tap, which tastes great. I very rarely drink water straight from the tap, especially where we live as the water is so hard it tastes quite frankly, terrible. The Soma pitcher works so well, however, that I’m drinking water from the tap, passed through my filter of course, for the first time in years.
Soma is designed to not only enhance the taste of your water, but do so in a sleek, beautiful way. The filters are made of fully biodegradable coconut shell, and new filters are automatically mailed to you every 60 days with your subscription when you purchase a Soma for $49. The cost is $12.99 (less than $0.25 per day). Shipping is always free. But besides making my water taste better in a sleek and beautiful way, Soma has also partnered with Charity:Water. Every filter you buy helps bring fresh, clean, and safe drinking water to those in need, all across the world.
The Soma makes a great gift for you, a friend or family member, or even your boss who makes multiple trips to the water cooler throughout the day. If you’re interested in learning more about Soma, you can visit them on Facebook or follow them on Twitter.
So what do you set the table with? Do you add more than I’ve included here, or are you a minimalist? Whatever your table style preference may be, wishing you all a very Happy Thanksgiving!


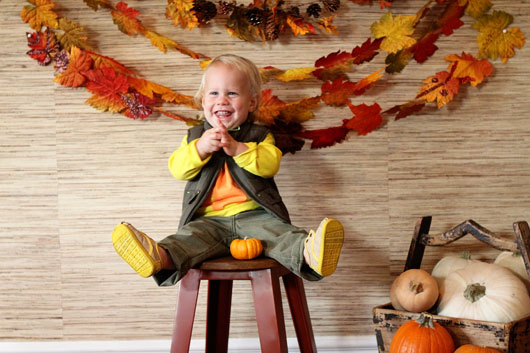
 We spent the long weekend up in Big Bear with some friends. While the trip was short, we accomplished our main objective – which was to take family photos. I’ll share ours with you in the next week, but for now, I wanted to give you a peek at the DIY I’ll be featuring tomorrow.
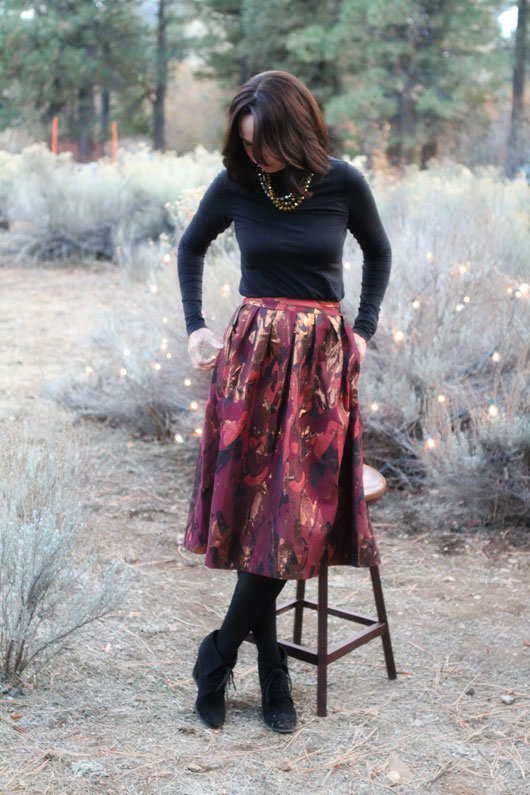
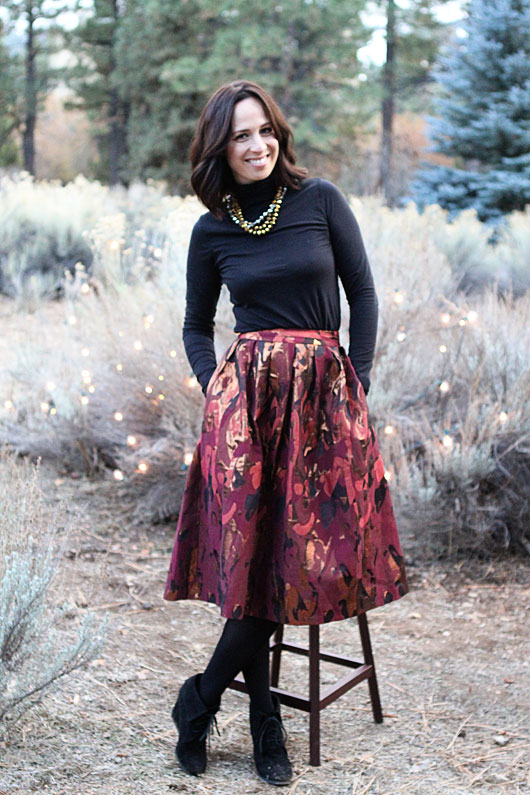
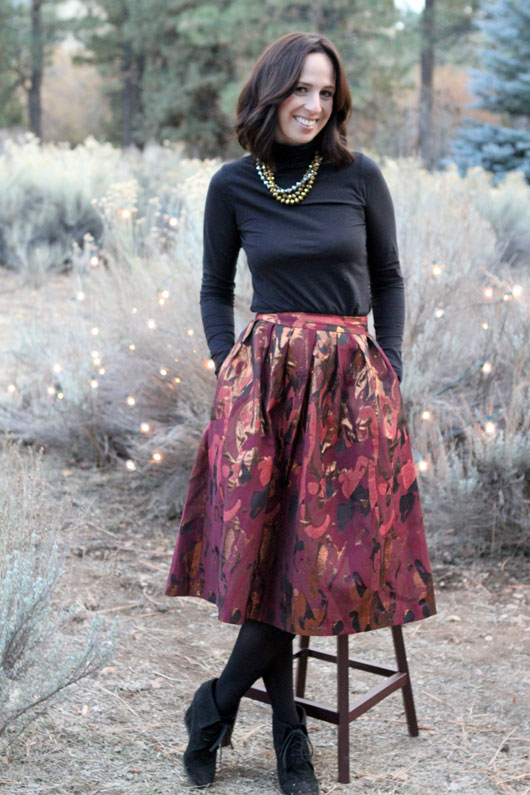
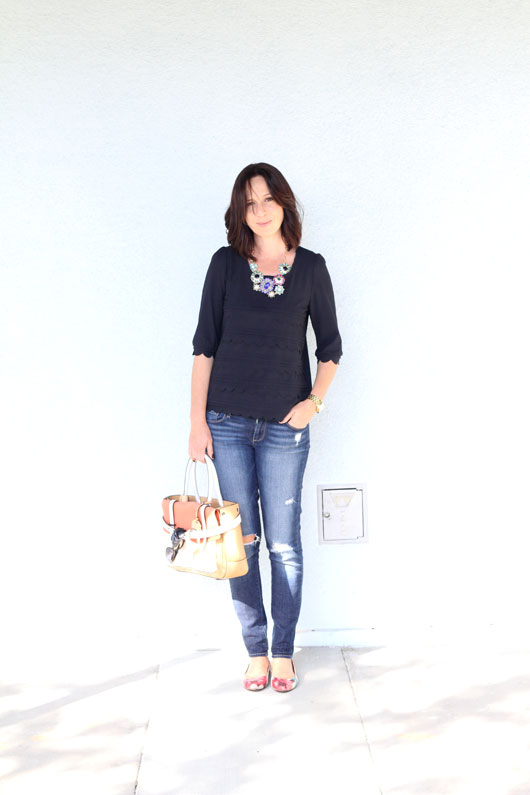
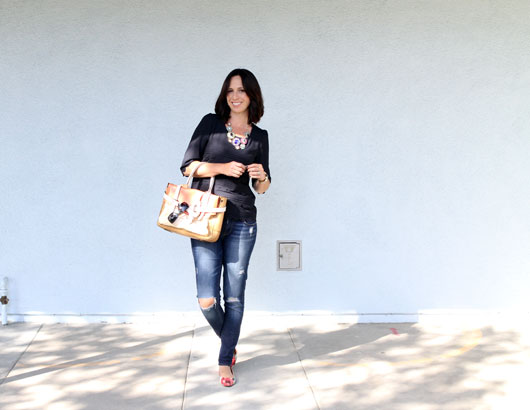
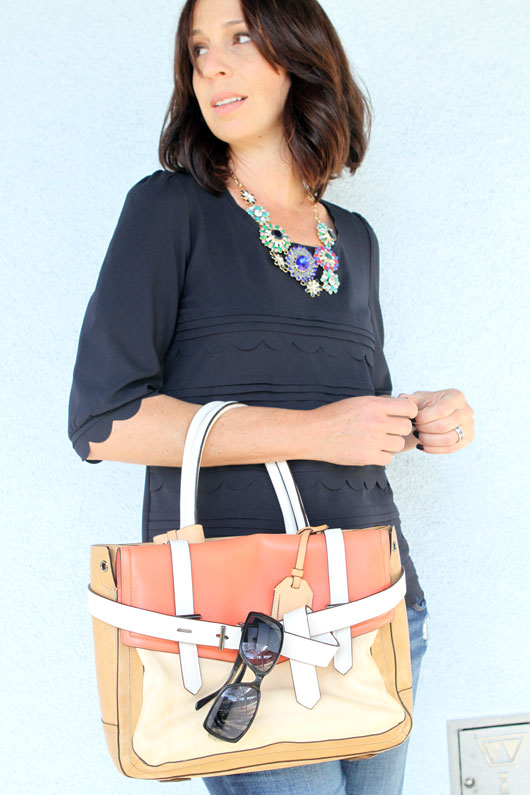
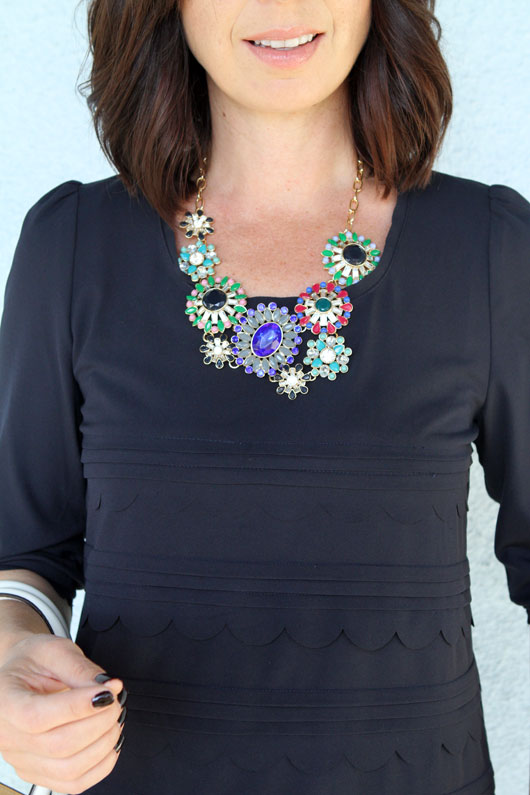
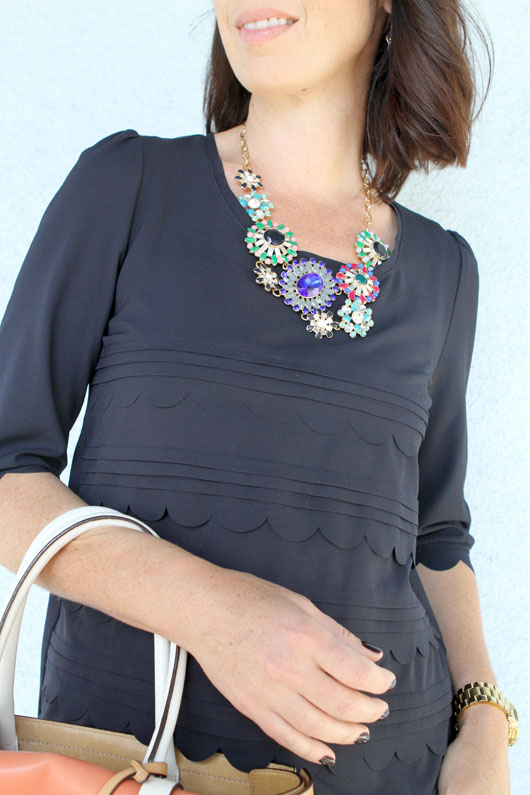
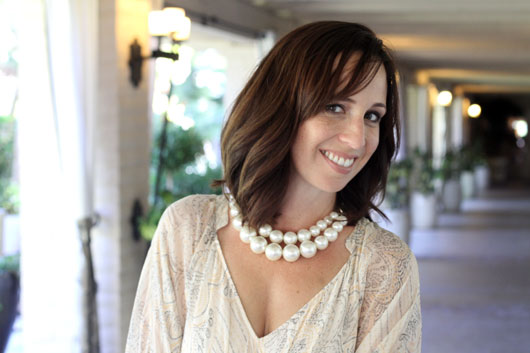
 Just in time for the holidays, I made this simple glam statement necklace, that will work well with all the colors of the season, including black, creams, and all the lovely jewel tones. This is the perfect necklace to wear with a little black dress or a white button up blouse and pencil skirt, the perfect statement piece to add a bit of subtle drama to any look.
 Necklace – DIY; Turtleneck – Vince; Skirt – ASOS; Shoes – Target (old)