 For a while, it seemed like I was following this trend of the older I was got, the more makeup and products I began to use, and the more I started to cover up. Longer shorts, longer dresses, even trying a one-piece bathing suit for the first time. I also went through a period where I racked up VIP status at Sephora for all the fancy creams and potions I was buying to try and cover up anything and everything that indicated I was aging. But it seems that in the last couple of months, momma is starting to get her groove back.
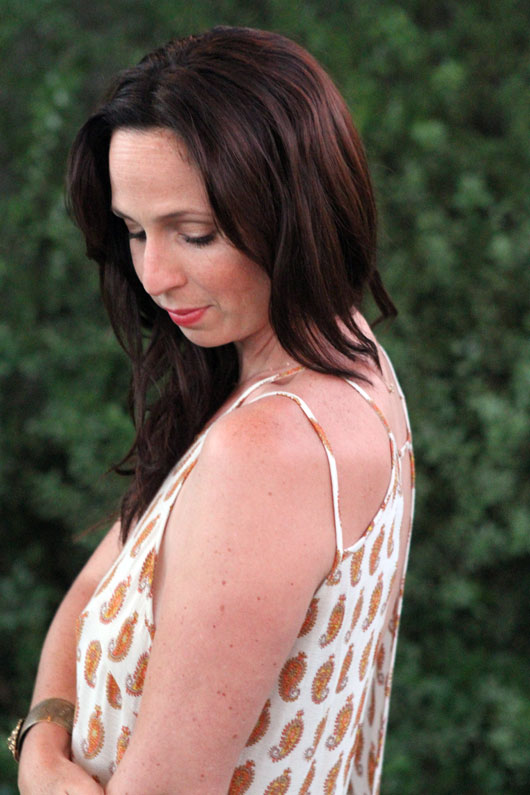
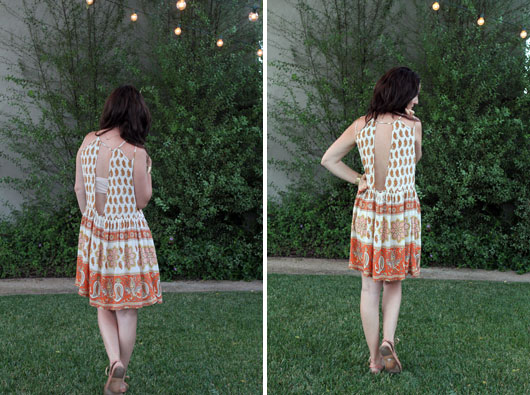
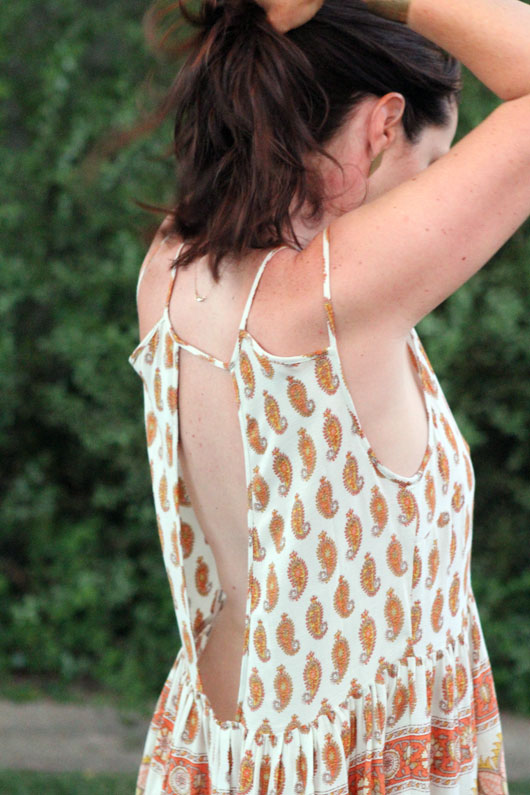
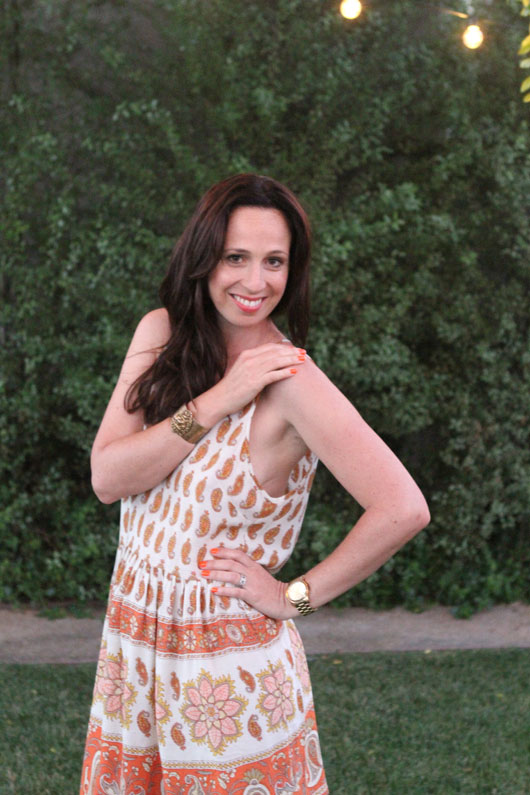
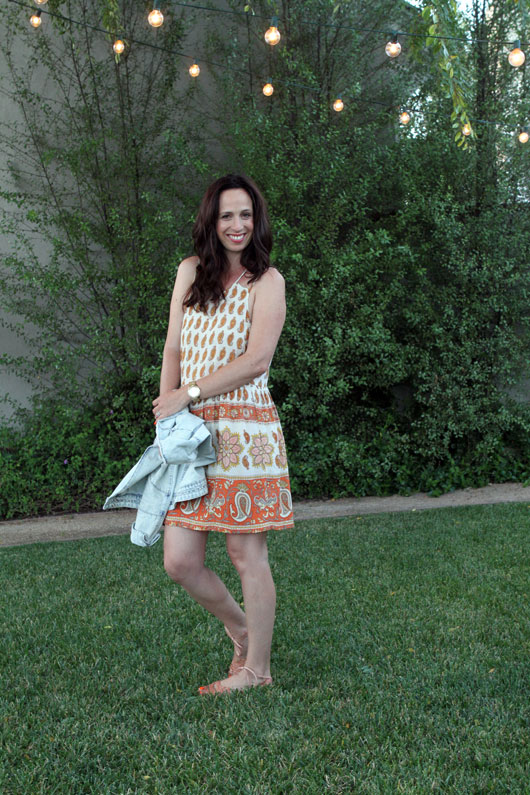
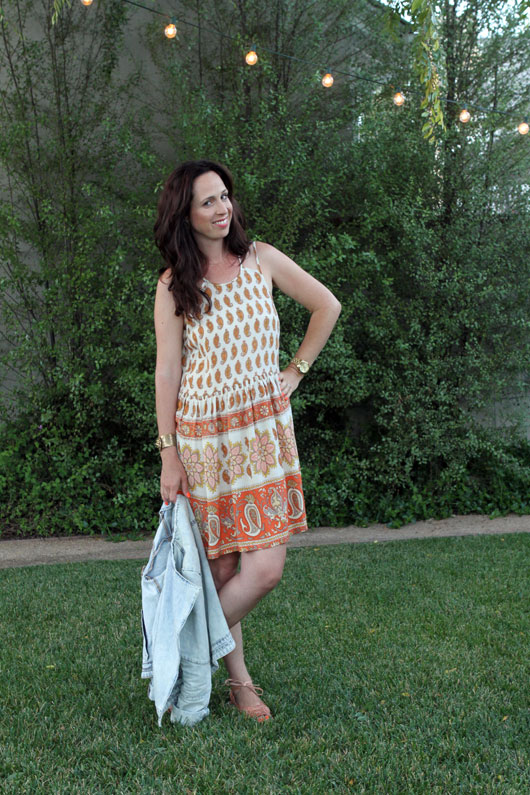
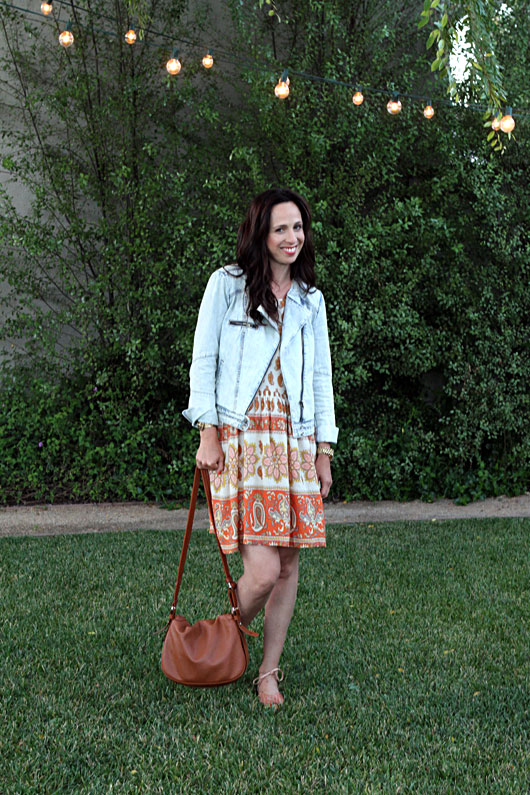
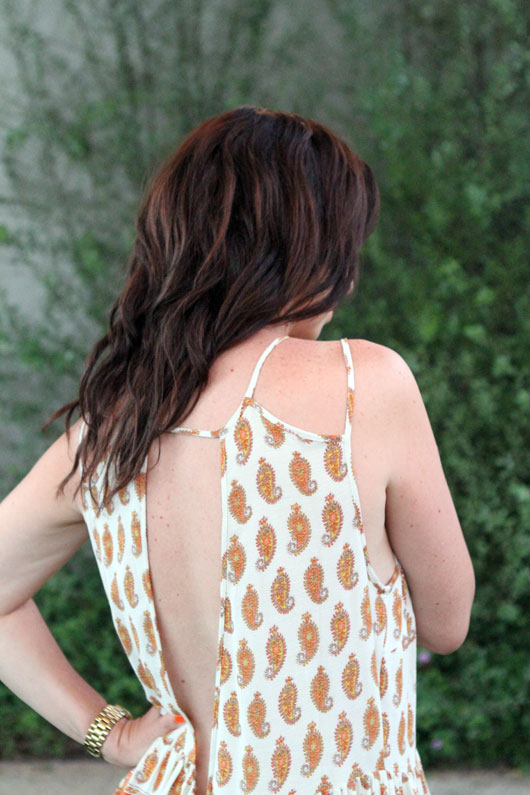 Dress – Mink Pink via Prism Boutique; Jacket – Zara (now on sale); Sandals – Olvera Street vendor; Cuff- Vintage; Bag – Marc by Marc Jacobs
A couple of months back, while in Palm Desert and sweltering in that one piece, I marched up to my hotel room and changed into a bikini, despite my hesitations with my postpartum figure. A few weeks ago I bought a crazy vented side dress that shows my bra to go to a rock and roll concert, and on Saturday, I bought yet another dress that leaves my back completely exposed. And for those of you who asked, I do wear this with a bandeau that does show in the back, but I don’t mind that. I’m into baring a bit more, but not being obscene! For the back photos I did take the bandeau off just so you could see the full details.
I don’t know where I found this girl, but I like her.
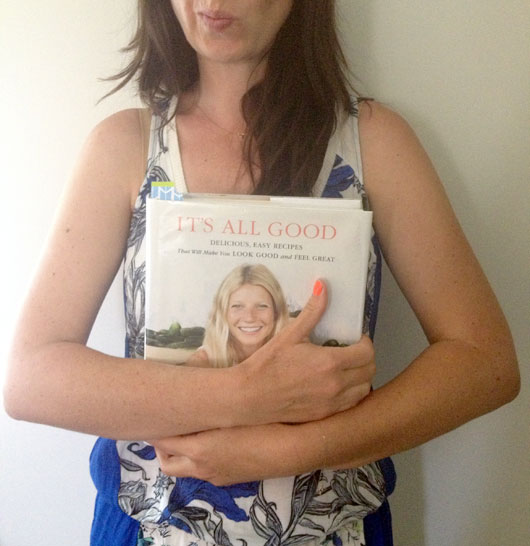
Since I’m stripping down to less and baring more, I need to do a better job taking care of my skin, especially during summer. As you all know, me and Gwyneth have been having a love affair lately. In her book, she isn’t wearing a bit of makeup in any of her photos and I love the stripped down, raw beauty of them all. Maybe she’s showing off a bit with how fabulous she looks, even without makeup, but at any rate, she looks gorgeous, and I’d be lying if I said I wouldn’t mind looking that good with no makeup. After spending a couple of consistent weeks now drinking fresh juices and eating cleaner overall, I’m starting to really believe that healthy skin is as much about the external care you give your skin as it is about the internal care you give your body.
Ladies and gentlemen, I present to you my personal commitment to how I’m going to try and achieve them over the next few months are as follows:
1. Internal Care – by starting by what I eat and drink, I’m going to work on ridding my body of toxins and hopefully get more of a glow back to my skin. Less breakouts, especially on my back, and more dewy looking skin will hopefully be the result from my 1 week detox I’m going to try next week, and just overall cleaner eating. In just the two weeks since I’ve been doing a better job (read, not perfect, just better), I’ve already seen a big difference.
2. External Care – more simplified beauty routine including washing my face every night and using non allergenic, and pure beauty products. Lots of moisturizing, especially all over body, and lots of SPF, especially on my hands.
3. Plenty Of Rest – the biggest indicator of me not taking care of myself shows in my dark under eye circles. For months I had Hayden to blame, but now, I have myself to blame. He’s sleeping better but I’m still cutting myself short in the sleep department and many days, even though I feel great and my skin looks good, my dark eye circles give me away. I need to go to bed earlier and get more sleep!
4. Physical Care – Continuing with exercising on a regular basis to help tone and strengthen, and flush my body of toxins. It isn’t about the weight anymore, as I’m happy and at peace with where I am, but I want to keep my skin and muscles as active and firm as possible for as long as possible.
5. All the extras – during Summer I always exfoliate my body more, slather up with the body lotion more, try a fresh new scent in body wash. Taking extra good care of my skin by affording myself a couple of extra indulgences appropriate for the season helps to reward my good behavior.
So what do you all do to take better care of you, and your skin? And do you solely rely on beauty products to help get you there, or do you think internal health is just as important? That detox I mentioned I’m doing next week, I start on Friday July 5th and it goes through Thursday July 11th, if any of you want to join me. Let’s see if we look as fabulous as Gwynnie when we’re all done!

AVEENO® Daily Moisturizing Lotion: Give your skin a naturally beautiful fresh start. This nourishing lotion improves the health of your skin in just 1 day! It contains ACTIVE NATURALS® Colloidal Oatmeal and is blended with rich emollients to help protect and soothe dry skin.
Compensation was provided by AVEENO® via Glam Media. The opinions expressed herein are those of the author and are not indicative of the opinions or positions of AVEENO®


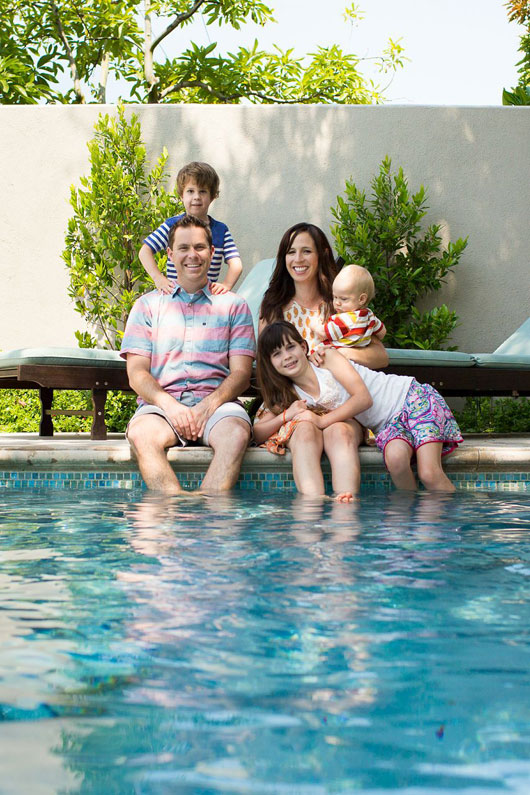
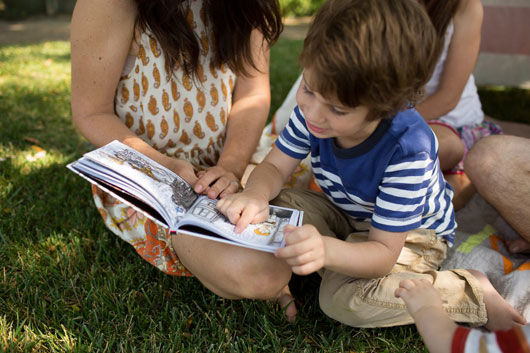
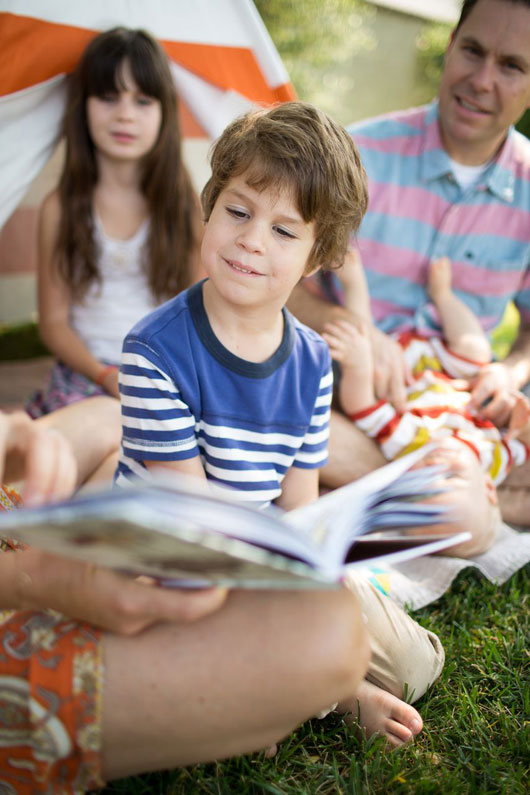
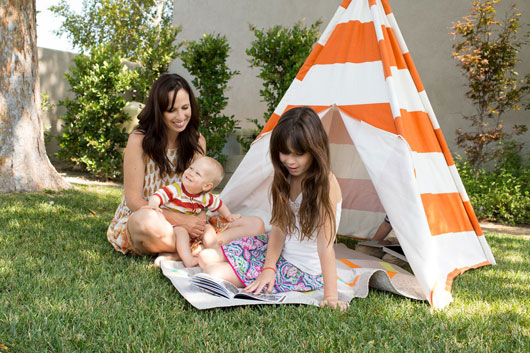
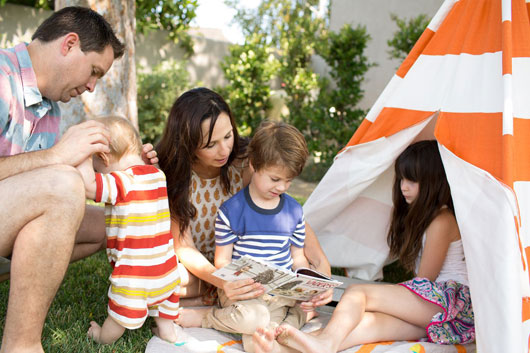
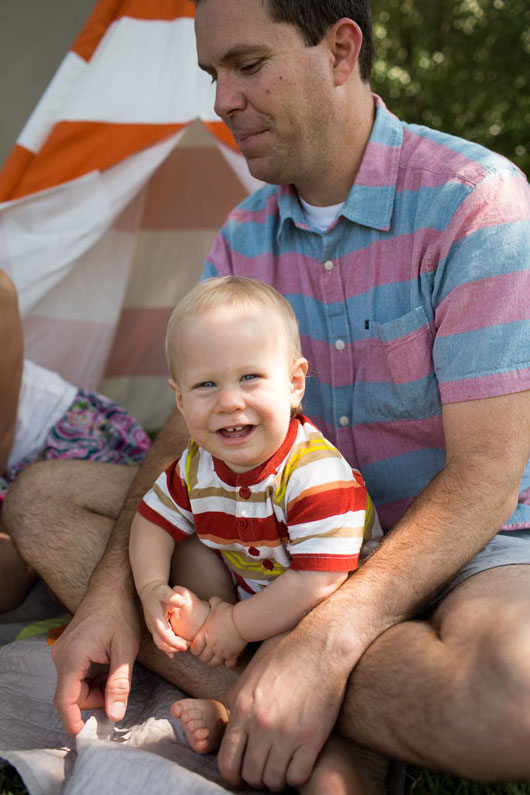
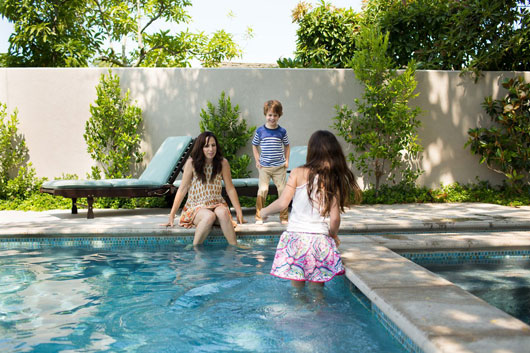
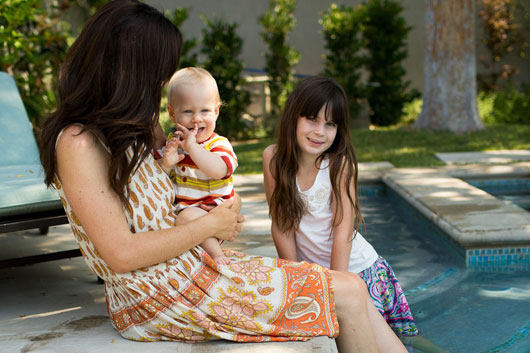
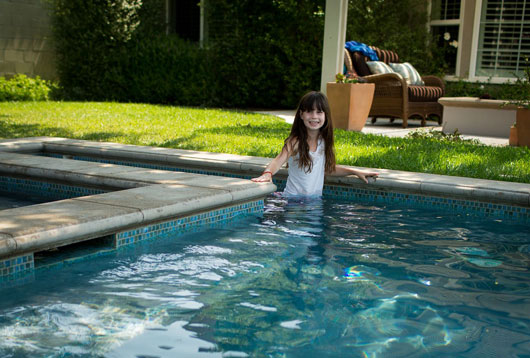
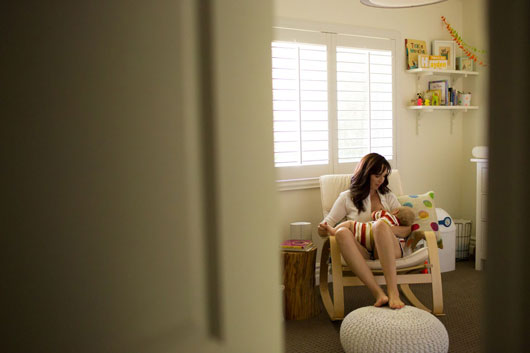
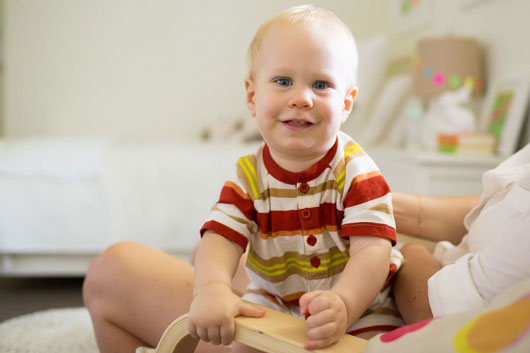
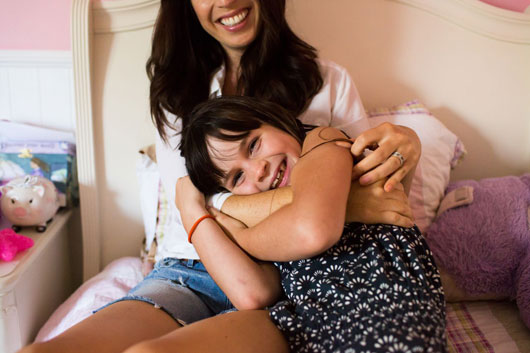
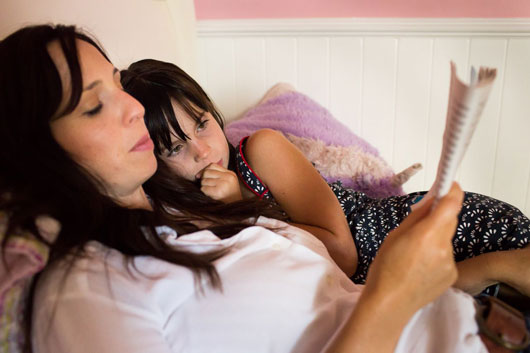
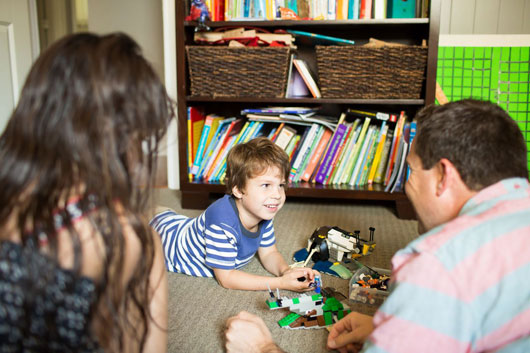
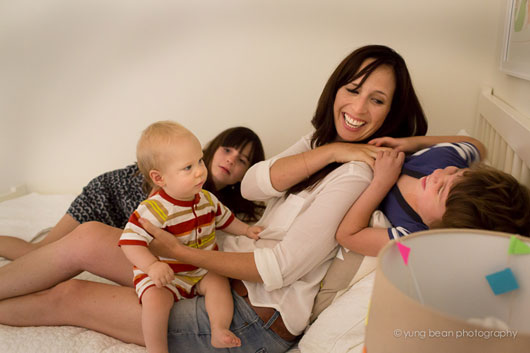
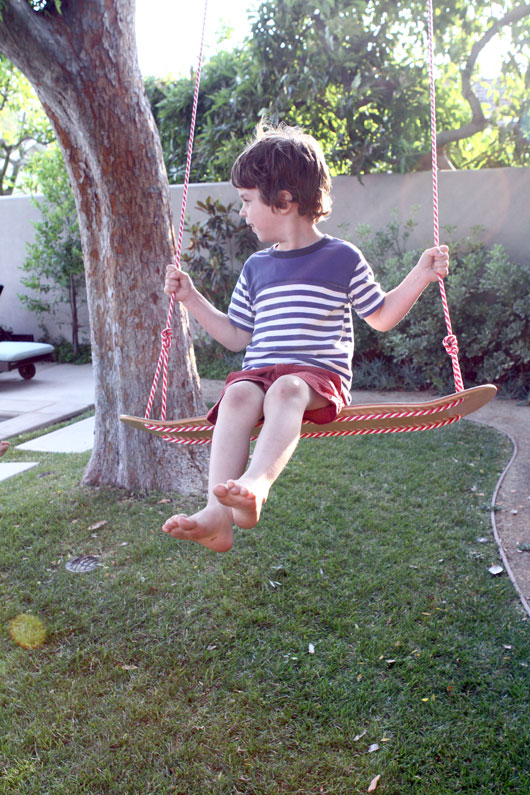
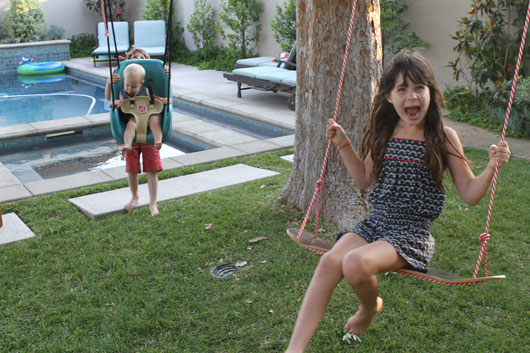
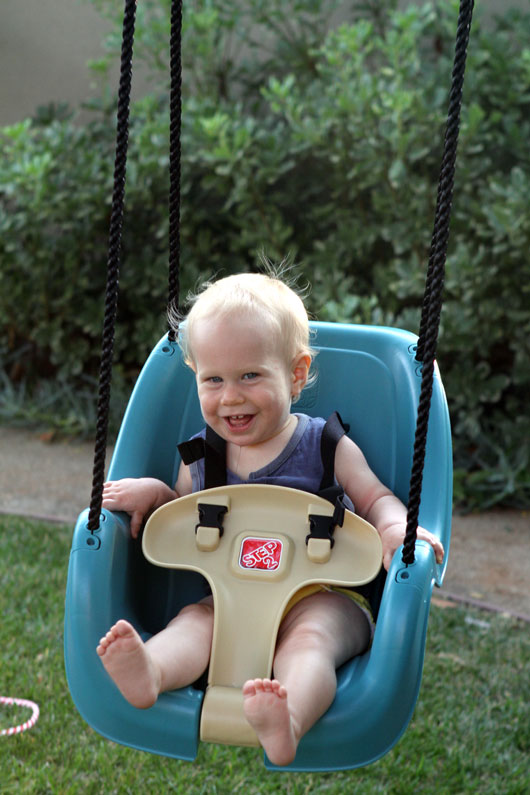
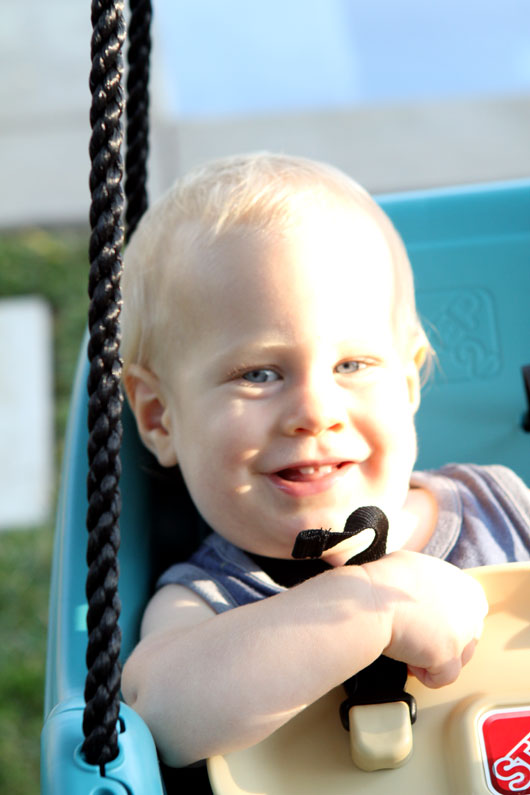
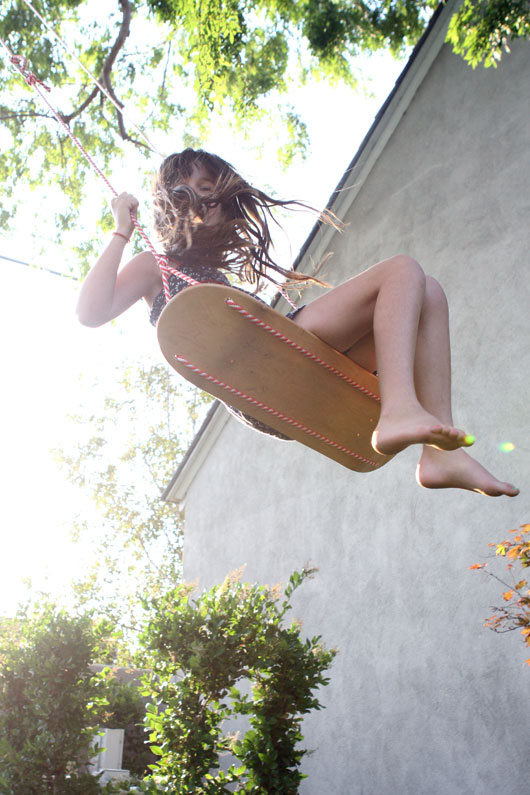
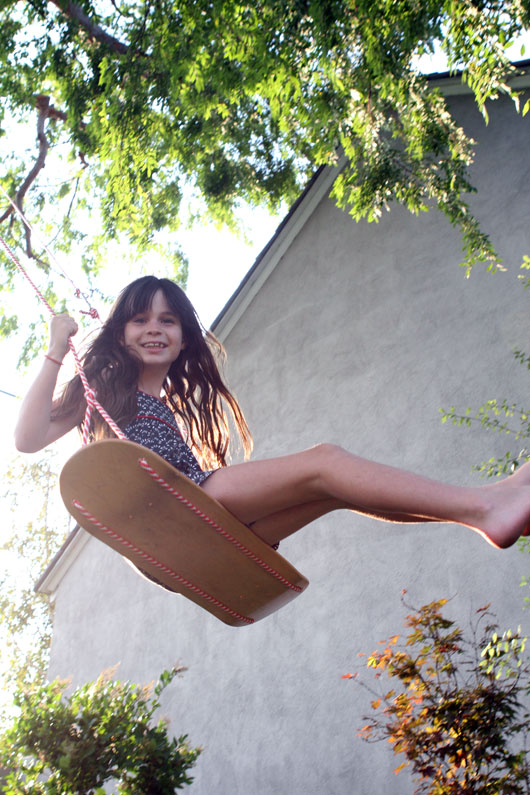
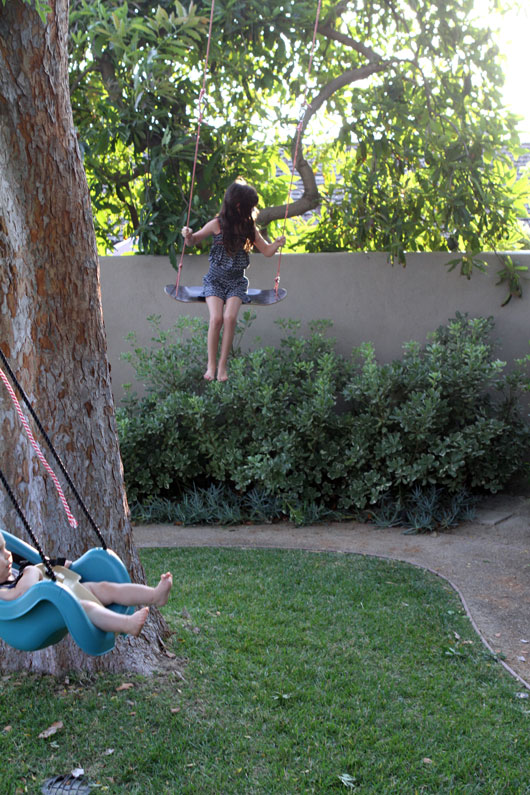
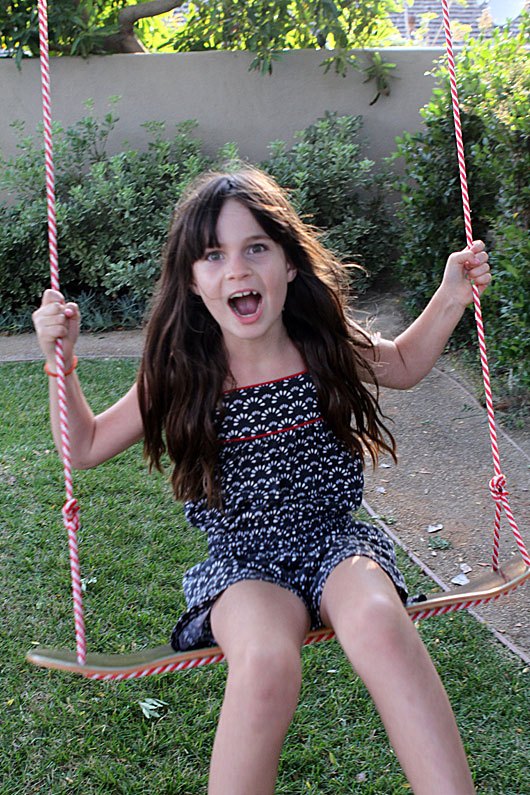
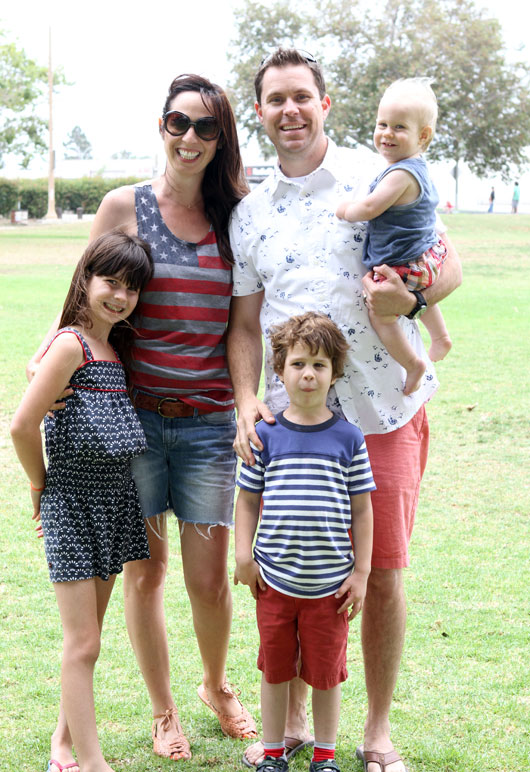
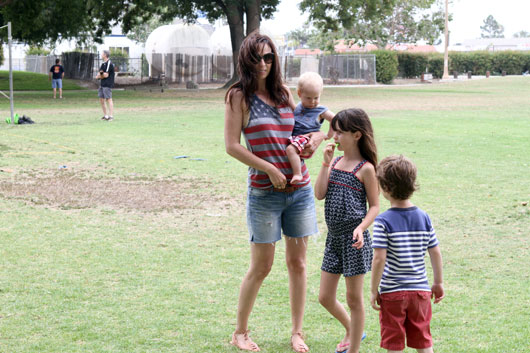
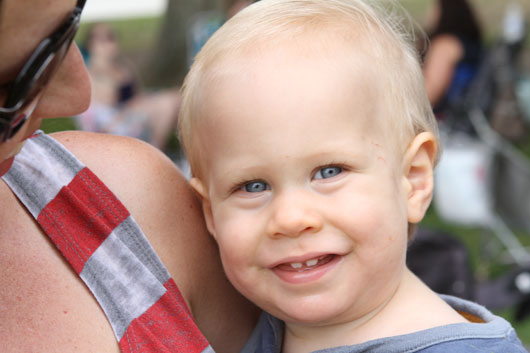
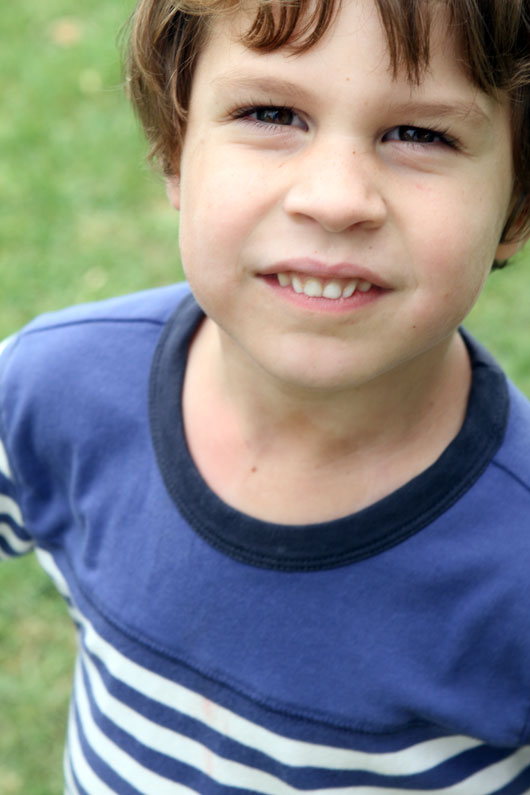
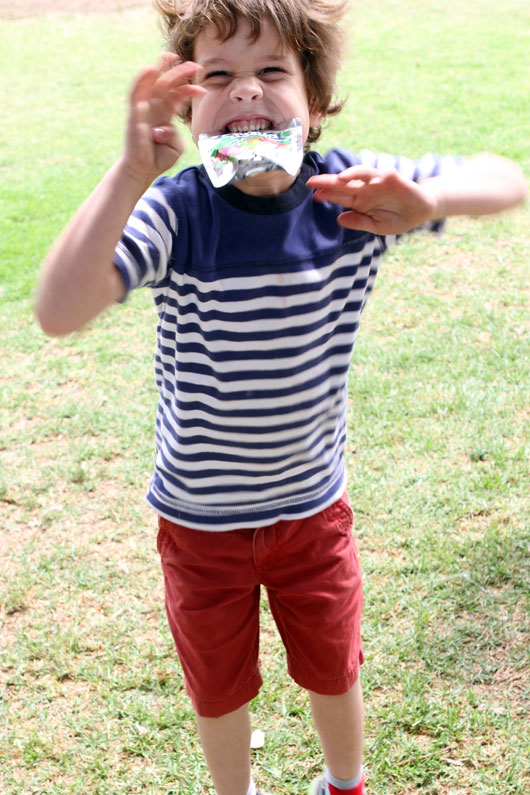
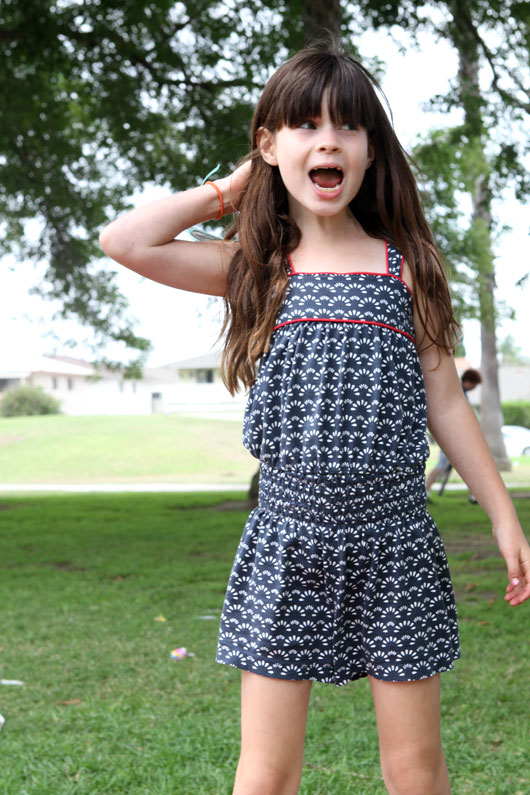
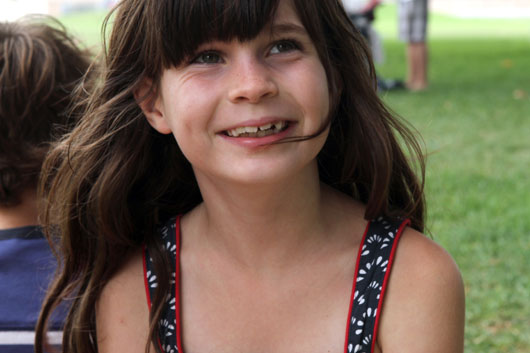
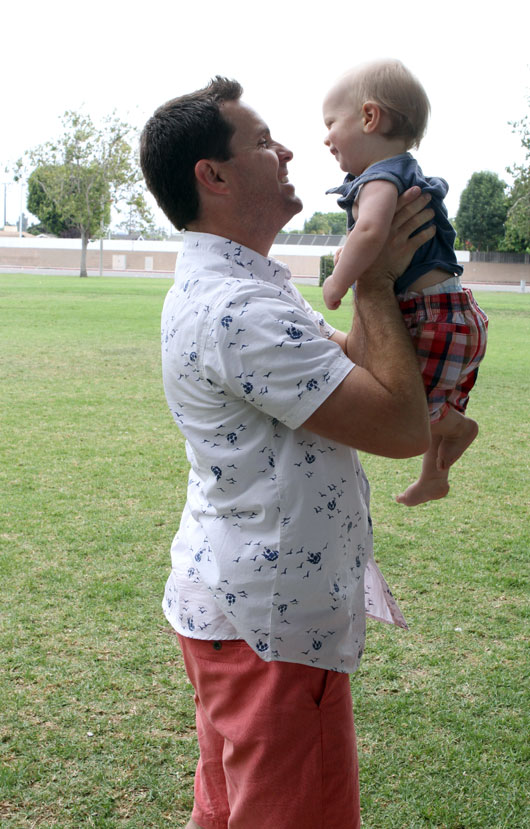
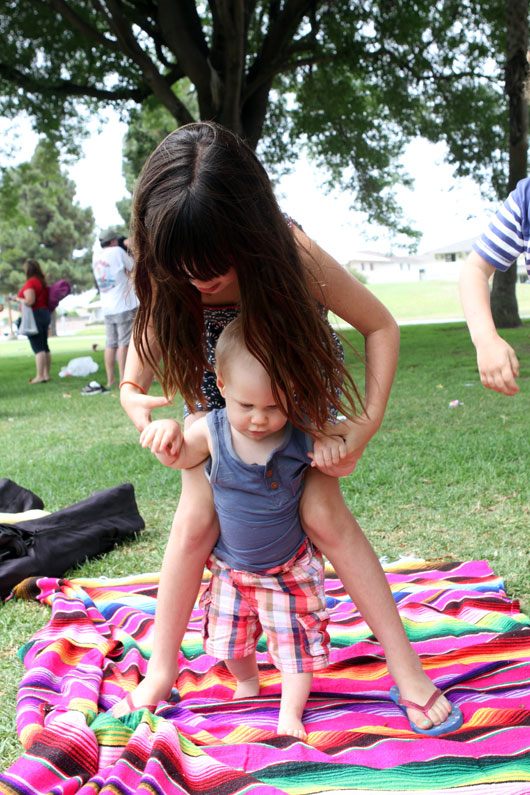
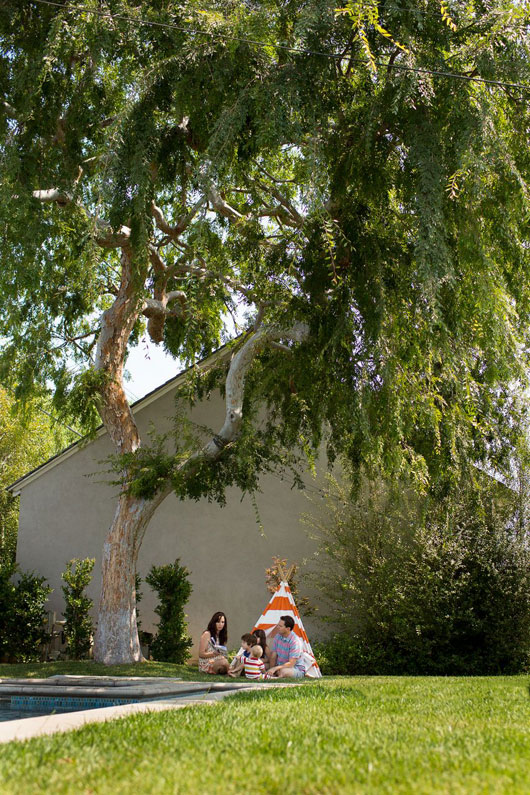 Last weekend my friend Mary, who is working on starting up her photography business, Yung Bean, visited us at our home for the morning and took photos, lots of photos, of what we love doing best as a family. Before she came, she asked me to fill out a questionnaire which listed some of the things we love to do, and some of our dislikes. While I was hard pressed to come up with things we don’t like to do, it was easy to come up with a list of our favorite things. Reading together, building Legos, cooking, eating, hanging out in the backyard. In three hours, Mary captured a slice of our life, if you will, and these photos truly represent who we are as a family. Messy nightstands spilling over with books, towels always strewn across the backyard, thrown together lunches, and lots and lots of Legos and Star Wars. I asked her to at some point, also get a few pictures of me nursing Hayden. As my last baby, and my only baby who really loves nursing, I wanted some documentation of our special time together. She did a beautiful job and I hope you don’t mind me sharing quite a few of the photos she took of us.