 On the way home from Palm Springs, we stopped by my parent’s house for my nephew’s 9th birthday party. My parents still live in the same home they moved to when I was 10, in the same town I grew up in. Because we were coming from a different direction than usual, we got off on the north side of the town, and drove down streets I hadn’t been on in probably 15 years, or more. We drove by houses and pockets of neighborhoods I hadn’t thought about in years. Past the apartment building I remember my older sister living in for a short time, past the park where I rode the merry go round over and over. We drove by an old duplex and small little California bungalow my cousin and Uncle both used to live in. Places I had long since forgotten, but came rushing towards me with just a single glance.
I suddenly remembered that my oldest cousin had a covet worthy Barbie collection, an entire collector’s series all still in boxes. I had a vision of looking at her exotic “Indian” Barbie, wondering why a grown woman needed such toys, and why I couldn’t have it. I peered out the window, with my nose pressed against the glass, just like a child, only answering with a grunt every now and then when Art or the kids spoke to me. When I had come out of my trance and we approached my parent’s home, I told Art about the houses my family had lived in throughout this town, surprised since he only ever knew them living in different parts of the state. I had this sad feeling, that it must be hard for the older generations to see the coming and goings of family members, at once knitted together by not only the common thread of shared DNA, but of shared geographical roots, now unraveled, strewn across the country. I imagined it must be hard for my parents to see so many family members go, with just a couple of them still remaining. No longer easy to just get together on a whim, with miles and miles now separating them, I wonder if they ever think of this time with fondness, or if the thought just makes them get a pit in their stomach.
I get that pit in my stomach when I get flashbacks of memories. Like when driving down that road in the neighborhood I grew up in. Or for years, when I thought of Christmases as a child and how they never seemed to live up the older I got. I got it when it was time to say goodbye to our friends this weekend, after spending a great couple of days with them in the desert. I used to think that pit was a bad thing. But now that I’m older I recognize it more as a longing for good times to last forever. Nostalgia if you will. The memories are sometimes sweeter and more heart wrenching to recall, than actually living them.
Once back home and unpacked on Monday afternoon, we took advantage of the day off to grab lunch with just Hayden. The older two had stayed over at Grandma and Grandpa’s, so it was a rare occurrence to just have one child in tow. At one point I went to the ladies room, and as I stood in line at the sink, waiting to wash my hands, I observed a young mom of a 6 or 7 year old, helping her little girl wash her hands. At the sink next to her stood an older woman, at least 60, with children long grown and gone, if she had any. And at that moment, I realized I was going to deeply miss this stage. This past year, maybe next year too.
We hear and read it over and over, heck, there are books and blogs dedicated to the “simple” idea of living intentionally. Savoring the moment. Slowing down, making the most of moments, small and simple. For the first few years of parenthood, I didn’t get it. I had people telling me I better slow down and live intentionally or else I’d live to regret it, and so I tried to be “present” and “intentional” and all those other buzz words. I slashed our schedule and got down on the floor with my kids but man it was hard. Not to be with my children. Well actually, yes, at times it was hard to be with my children. To say no when the opportunity to play with friends passed us by, to not God forbid, “over-schedule” our lives. But by goodness I tried and when I sat there playing with my kids, distracted and mind somewhere else, I felt guilt.
Having young kids so close in age was hard and looking back, there’s moments but not years or months even, where I think my goodness I miss it. But right now, I know I will miss this. This age, where curiosity is at its finest, where innocence is still palpable and worth protecting, but interest in the great big world is on the tip of their tongues, just waiting to be whispered, “Mommy, what else is out there?” This stage when we have a baby who is so sweet and delicious, it takes all your might to not nibble on him all day long. With older siblings who wouldn’t even think to harm him or be resentful of him. No sibling rivalry, just pure utter adoration.
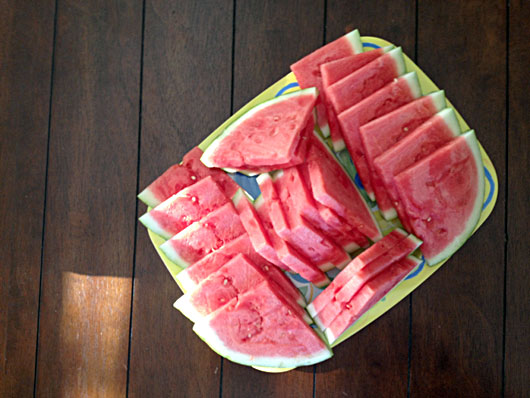
This stage is bliss. This moment in our lives is exactly what I know will be missed. A time when I can’t remember ever feeling so happy on a daily basis, so grateful, so appreciative that a tray of cut up watermelon on Memorial Day could bring tears to my eyes. This stage, when looked back on years from now when the kids are all grown and there’s no more bedtime stories to be read and diapers to be changed or laundry to wash, I will get that pit in my stomach. And I will having such a longing for this time back and be hit with such strong feelings of nostalgia I’ll try with all my might to bottle it up and hold onto it forever.
This past weekend was wonderful. It was jam packed and busy and eventful, and at one point we looked at each other and said, “are we doing too much?” Art replied, “Yes, but you only live once.” I’ve slowly started to realize over the last few months, as I’ve somewhat come out of the newborn fog, that living intentional for me, at least for the time being, is saying “yes” to things, even though there’s books in print telling me to slow down, don’t do too much. To take out my phone and snap a million pictures, even though there’s a whole movement out there telling me to put my phone away. To embrace the events life throws at us. To soak up our friends and family as often as we can. To give my kids the opportunity to let friendships bloom and pursue experiences that allow them to stretch and grow. For me anyhow, I’ve realized that being intentional doesn’t mean slowing life down to a halt, but meeting it head on in an embrace, so that we can dance and stumble and fall, and rise together. Because eventually, one day, I’ll look back at this time and wish I had done more to preserve it, to hold onto it, to cherish it, to memorialize it, to bottle it up and open its contents on a rainy day.
I came across this post, via Jules, over the weekend, encouraging a return to simple story telling, a return to old fashioned blogging, if you will. While I’ve grown almost as weary of these types of posts, as I have of how numbers orientated blogging has actually become, it really resonated with me. I even joined the Facebook group! At my old blog, I used to write. Actual stories and tales of our lives, and my feelings. Some of my favorite writing pieces are actually housed on my old blog and I sometimes go back and read them for nostalgia. While I’m very happy and proud with what I’ve done here in this space, I do at times, really miss “writing” and not just giving bullet point tips of how to dress for your body, or beautiful DIY shots for you to “hopefully” pin and share. So today I thought I’d try my rusty hand at a little bit of the written word and share with you what has been on my heart and mind the last couple of days. Do not fret, For the Love Of isn’t about to become a personal blog, but every now and then it would be nice to practice my hand at writing in this space. I hope you will oblige me in that. Have a beautiful day friends.


 As I said the other day, life’s been busy. April – June is usually a marathon sprint for us, and as much as the end of school year can be daunting and seem to be never ending, we’re trying to make the most of our last few days of busyness before Summer arrives. Yesterday Syd finished his last homework packet, and the day before that, Taylor gave her oral presentation on Amelia Earhart, signaling the end to all schoolwork for the rest of the school year. They both celebrated yesterday by jumping into the pool fully clothed while I wasn’t looking.
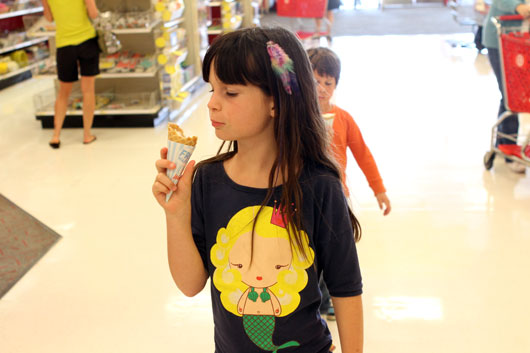
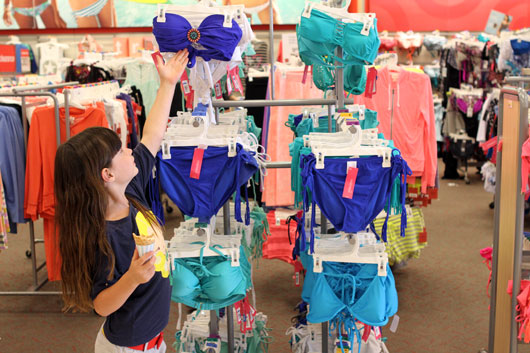
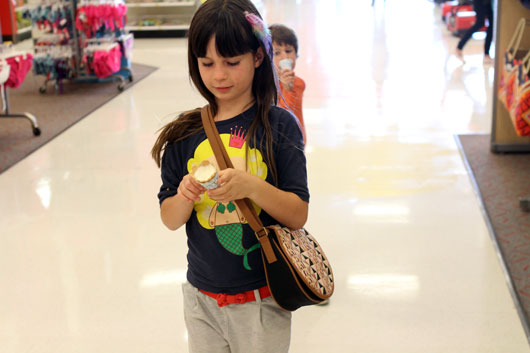 Turns out it indeed worked like a charm. For once they didn’t groan as I made a detour through the clothing and accessories area before we stopped at the toy aisle to browse. They were even trying to be helpful and suggesting bikinis I should try and purses I should buy. It was all very surreal to have them be so accommodating, but definitely fun.
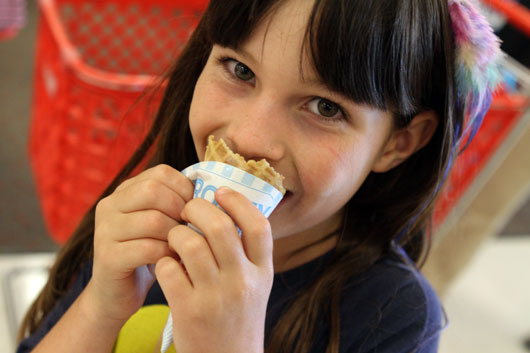
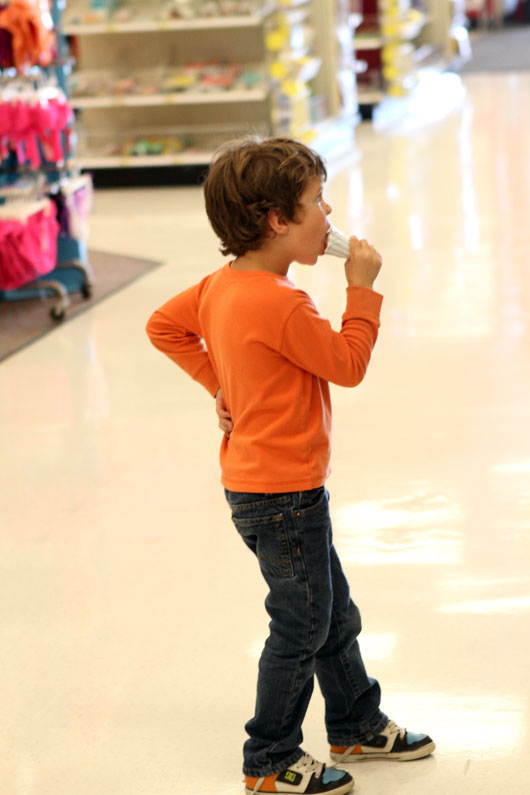
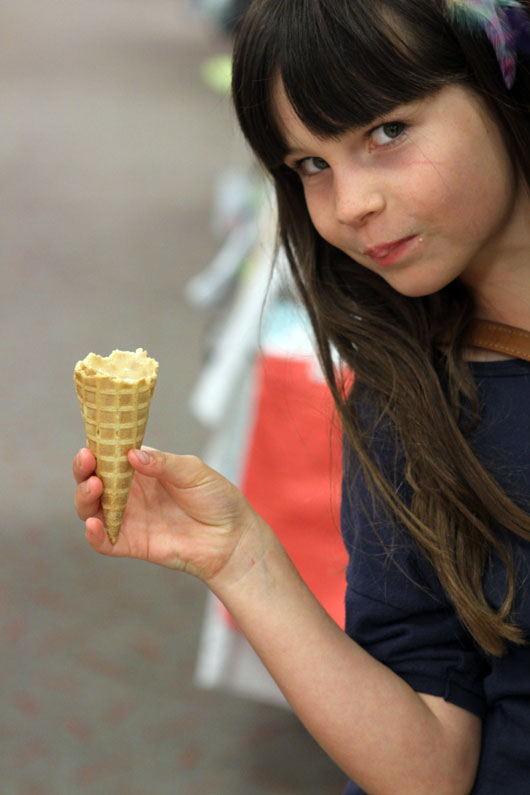
 By the way, in case you hadn’t noticed, that’s a Wendy’s Frosty in a WAFFLE CONE right there!! Brilliant, right?! Our Wendy’s drive thru is less than .8 miles from our house, and at least once a week we roll through to pick up a Frosty. They were blown away when their Frosty arrived in a waffle cone this time, and Syd swiftly declared the waffle cone to be the best part. While I think they’re both equally fantastic, either way, our trip to Target was made a little saner, and much sweeter, with the addition of our Frosty cones.

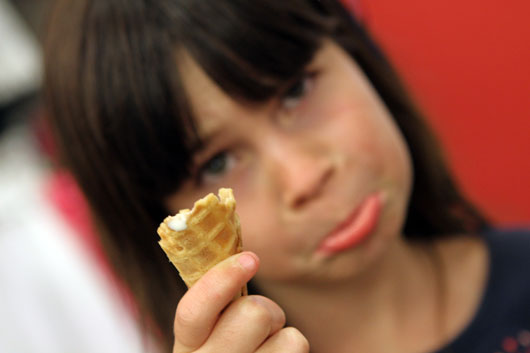 Find a Wendy’s near you and give these new Frosty cones a try. And may I suggest that if you’re road tripping it this Summer, drive through a Wendy’s and enjoy one of these to make the car ride a bit more enjoyable. They are pretty fantastic, and I would never steer you wrong in this category.


